
What are Traditional Baked Mooncakes?
Traditional baked mooncakes, a Chinese bakery product, are usually eaten during the Mid-Autumn festival. This festival is also known as the Moon Cake Festival (Zhong Qiu Jie 中秋节 ). During this day, a special kind of sweet cake (yue bing 月饼) is prepared in the shape of a full moon. These cakes are typically filled with sesame seeds, ground lotus seeds and salted duck eggs. Mid-Autumn festival is celebrated on the 15th day of the 8th month in the lunar calendar every year, when the moon is at its brightest for the entire year. It is also the third most important Chinese festival.
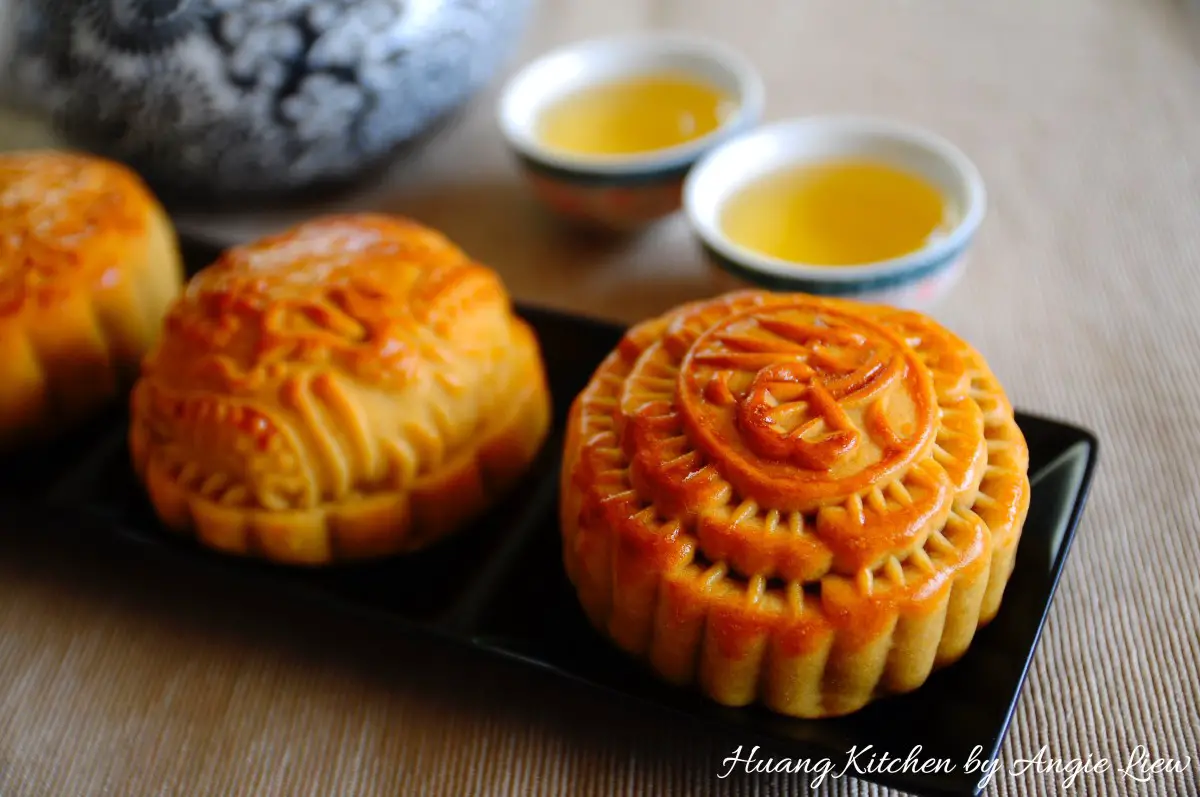
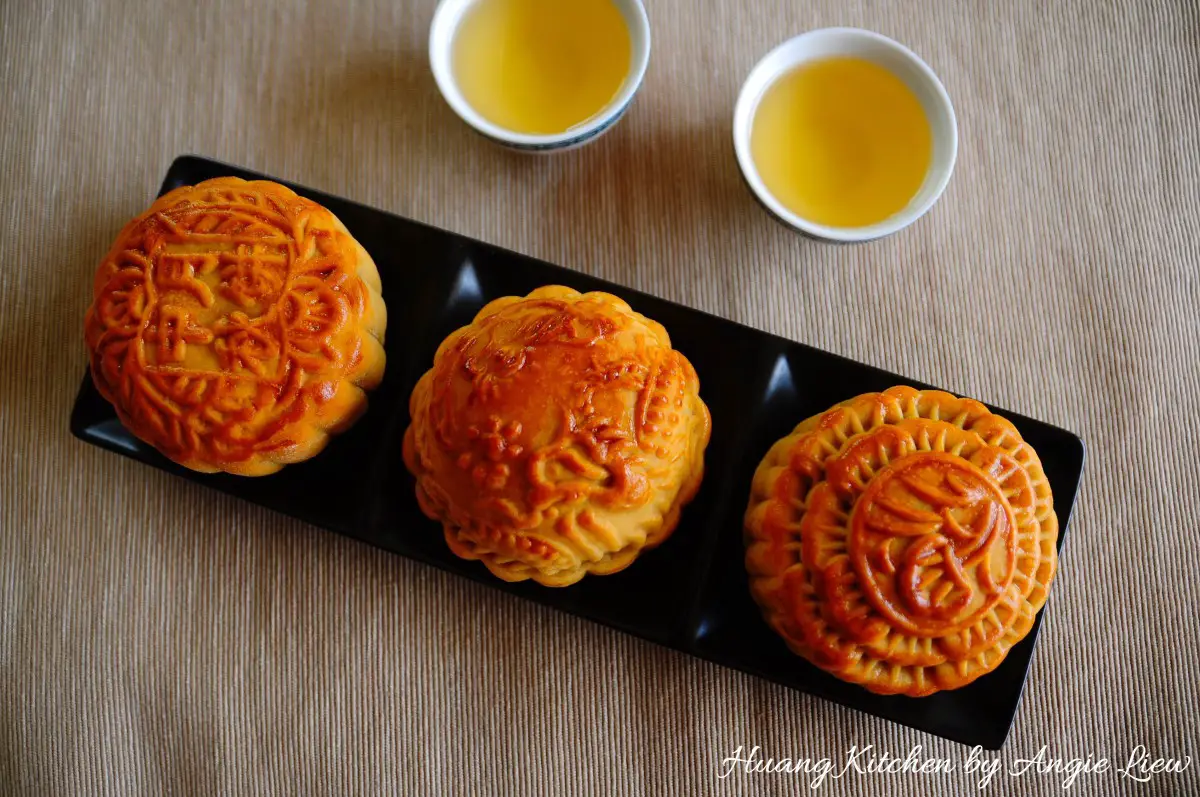
Mooncakes are typically round or rectangular in shape. They are rich, heavy and dense, unlike most western cakes and pastries which are normally light and fluffy. Mooncakes are best enjoyed in small wedges, accompanied by freshly brewed Chinese tea. Traditional mooncakes usually have an imprint on top with Chinese characters for “longevity”, “harmony” or “prosperity”. Or sometimes, the name of the bakery and filling in the mooncake.
Mooncake, A Must-Have Delicacy Mid-Autumn Festival Celebration
Nowadays, Chinese people celebrate the Mid-Autumn festival with dances, feasting and moon gazing. Children are then told the story of the moon fairy living in a crystal palace who will come out to dance on the moon’s shadowed surface on this day. Mooncakes are regarded as an indispensable delicacy on the occasion and are gifted between friends and relatives. To accentuate the brightness of the moon, people traditionally light up lanterns of all kinds during the festival.
Traditional Baked Mooncake Fillings: Lotus Paste and Egg Yolk
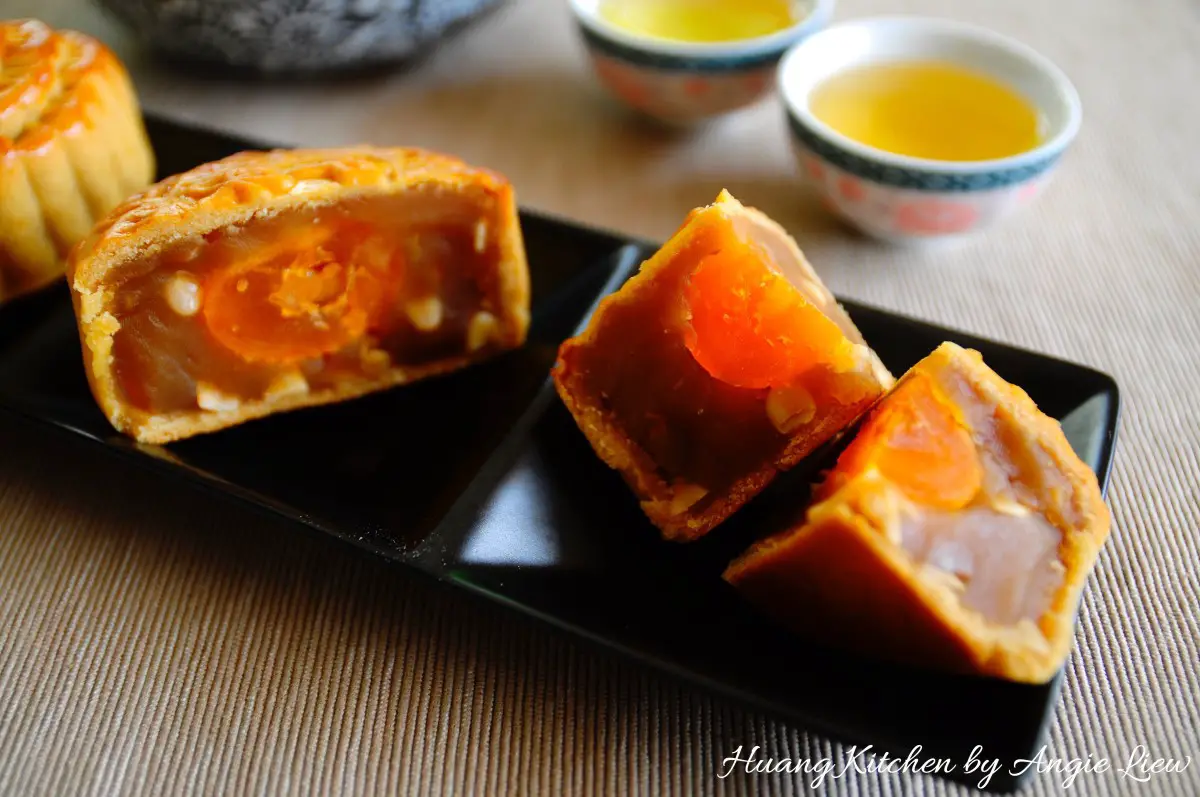
There are indeed many varieties of mooncakes available today. However, my favourite mooncake would still be the simple traditional baked mooncakes filled with lotus seed paste and 1 egg yolk. Or better still, 2 egg yolks with the skin baked and glazed to a shiny golden brown.
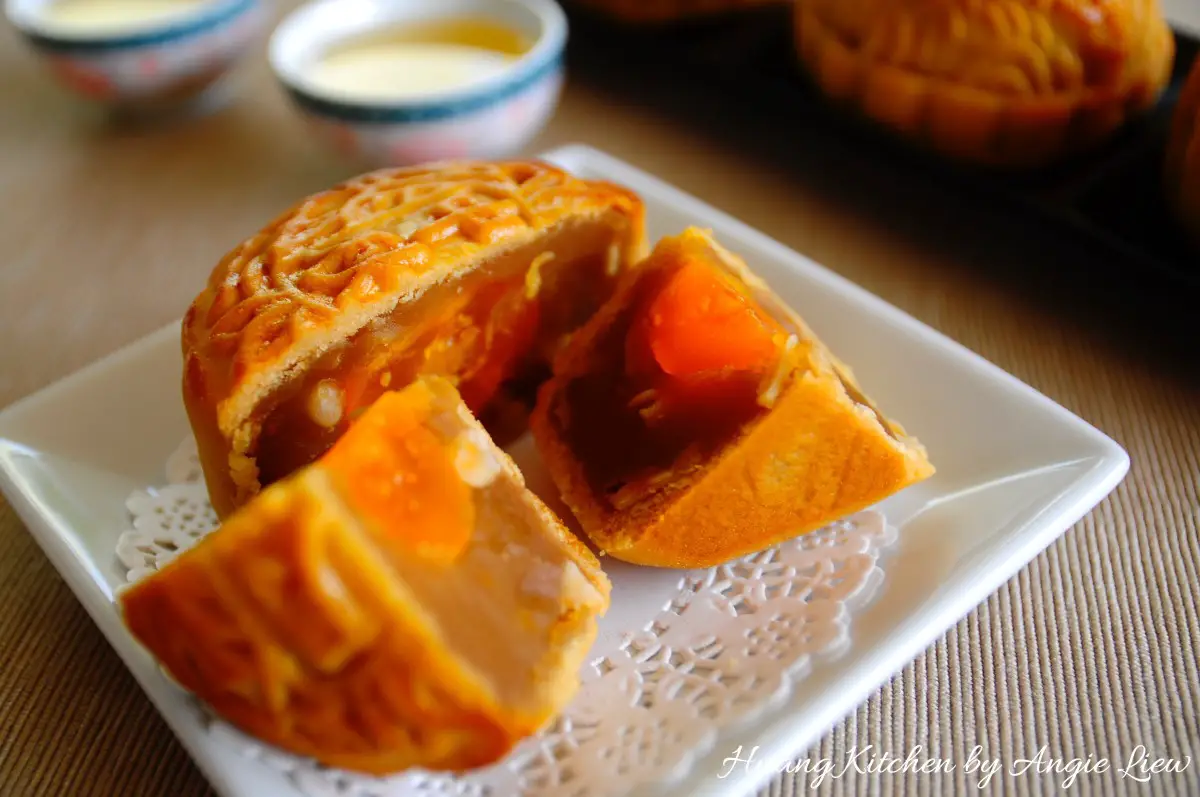
The salted egg yolk in the middle of the mooncake symbolizes the full moon. These mooncakes are quite filling. So they are usually cut diagonally into small wedges and shared between friends and family. Enjoy!
Traditional Baked Mooncakes
Traditional Baked Mooncakes 传统烘月饼

Tap or Hover to Adjust Servings
Ingredients
Mooncake Pastry
- 250 gram golden syrup
- 80 gram oil, preferably to use peanut oil
- 8 gram alkaline water, lye water
- 240 gram all-purpose flour, (A) added to the golden syrup
- 120 gram all-purpose flour, (B) added after 4 hours
Mooncake Filling
- 1 kg lotus seed paste, homemade or store-bought
- 50 gram melon seed, slightly toasted
- 9 Salted egg yolks
Egg wash
- 1 egg yolk, beat and sift
- 1 tbsp water, beat and sift
Others
- 1 - 2 mooncake mould, Any mooncake mould of your choice. My mould is 170g
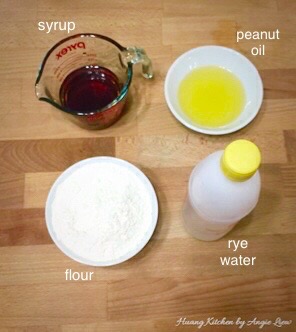 Start by making the mooncake skin. Prepare all ingredients needed to make the pastry.
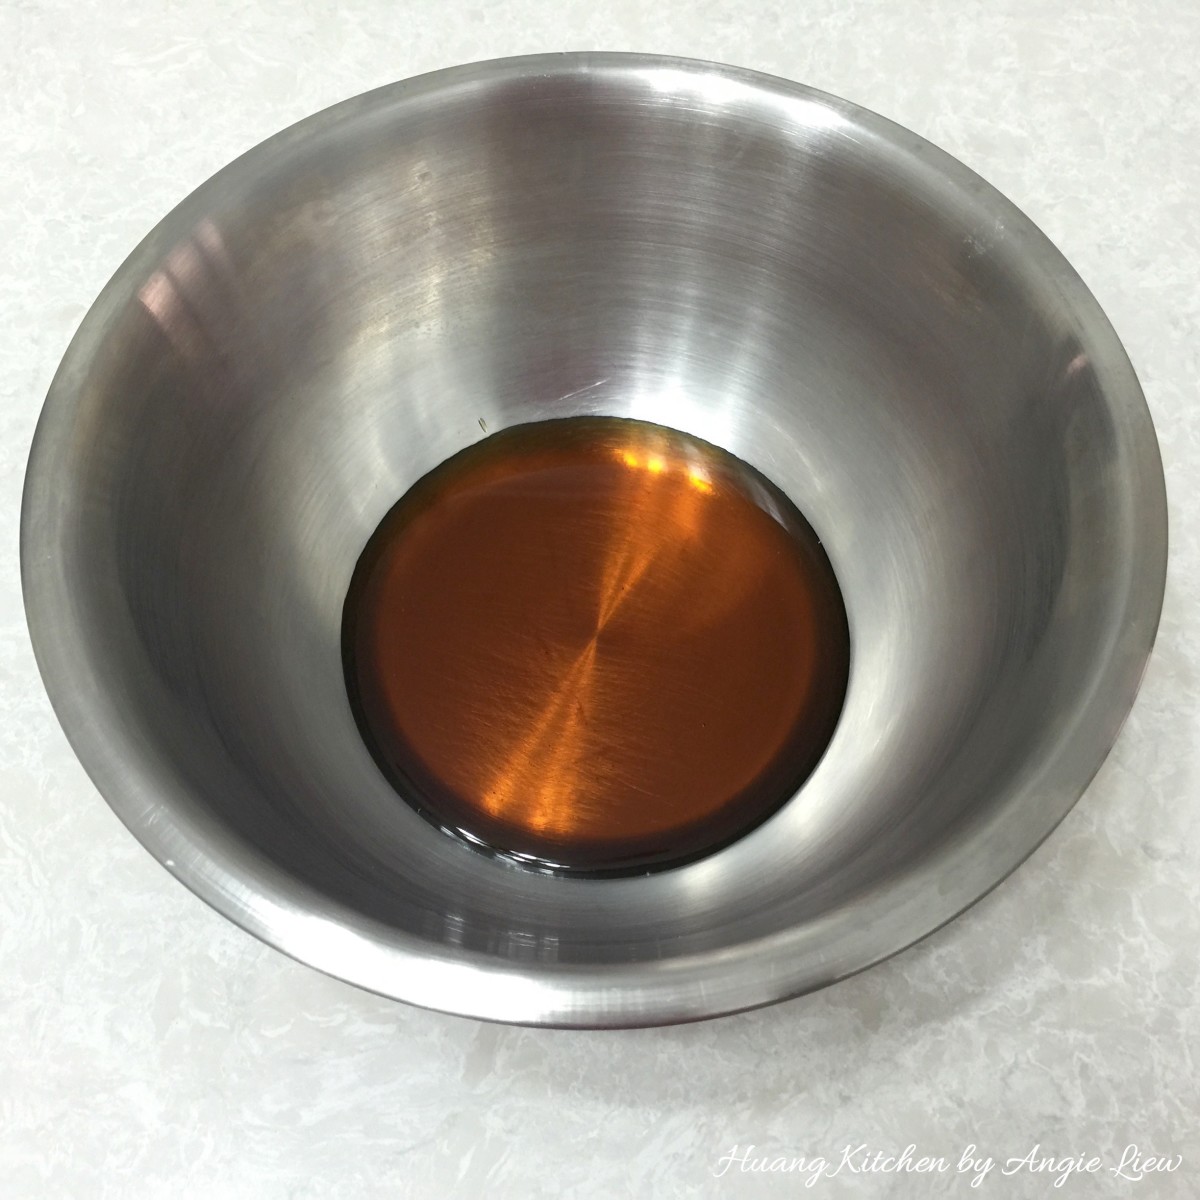 In a large bowl, add in golden syrup.
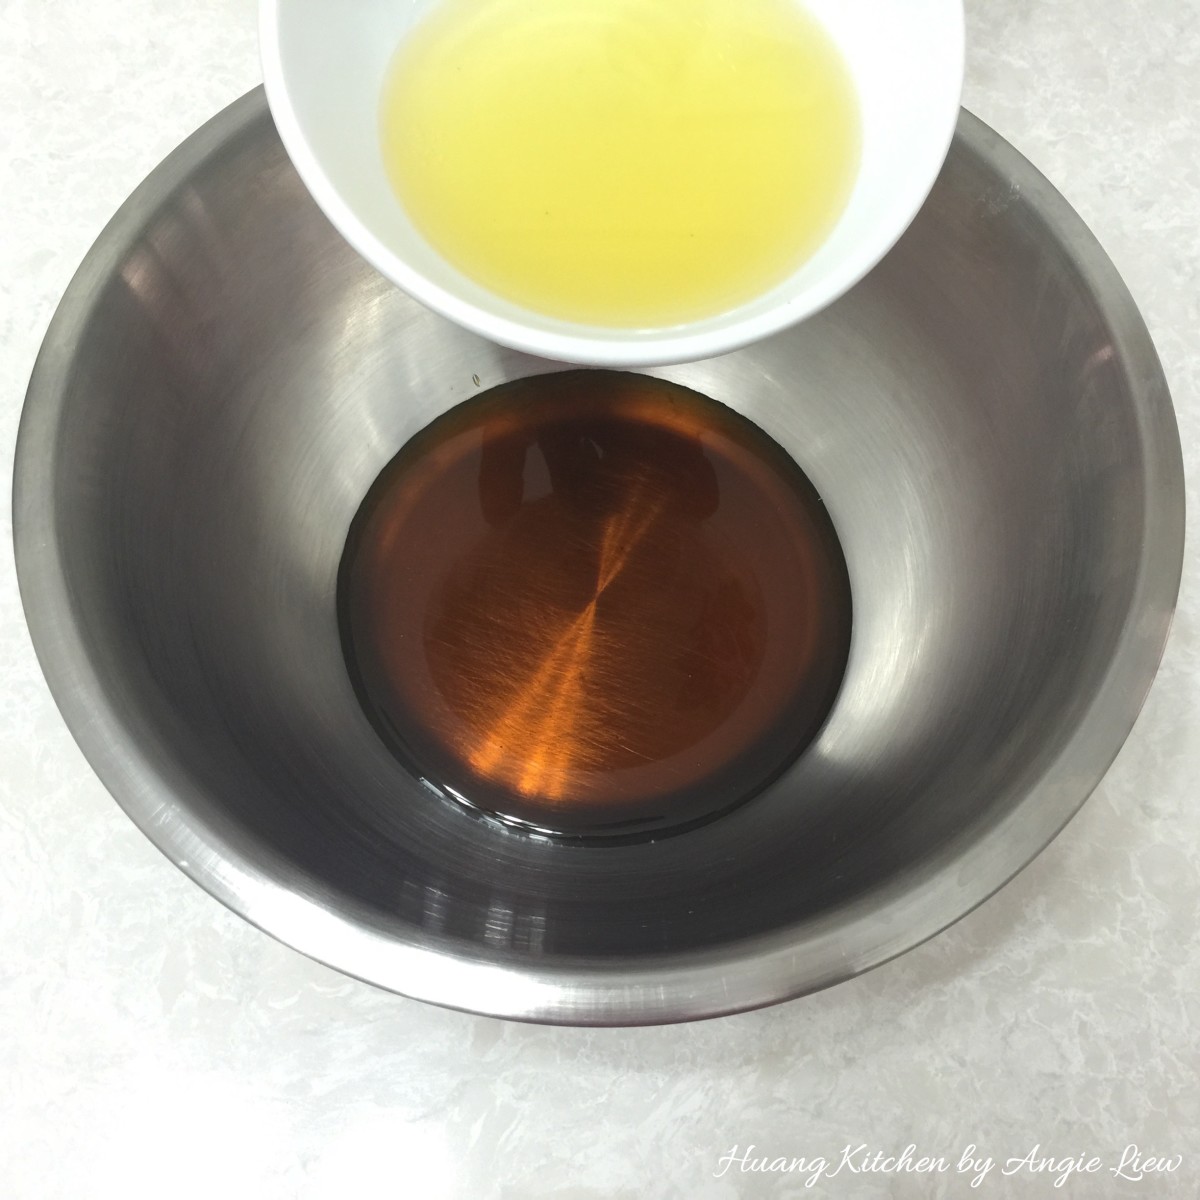 Add in peanut oil.
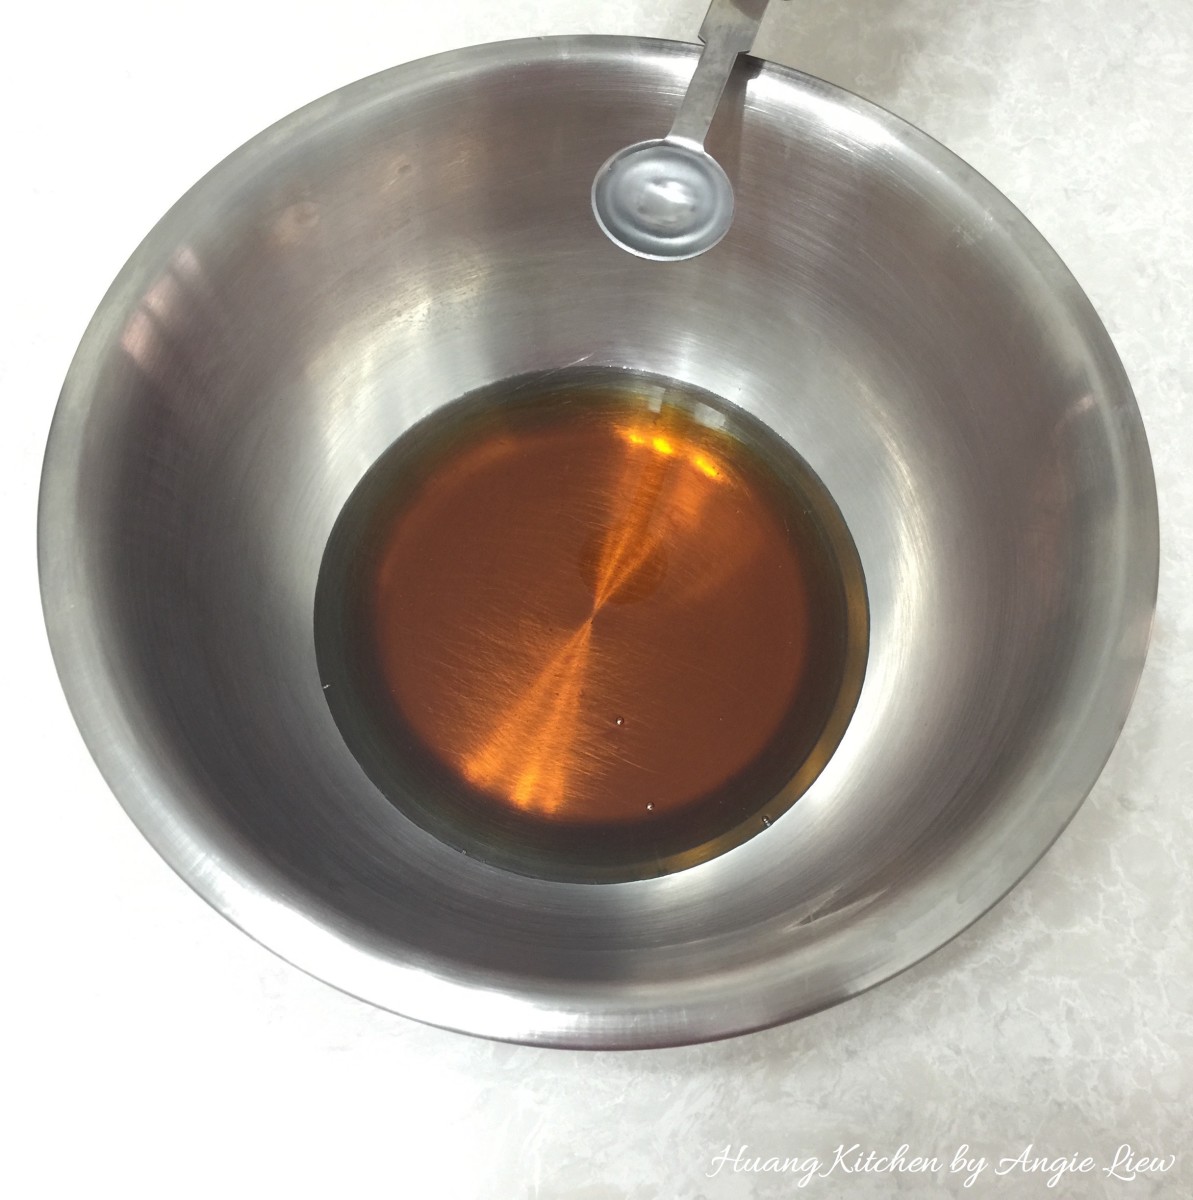 Followed by alkaline water.
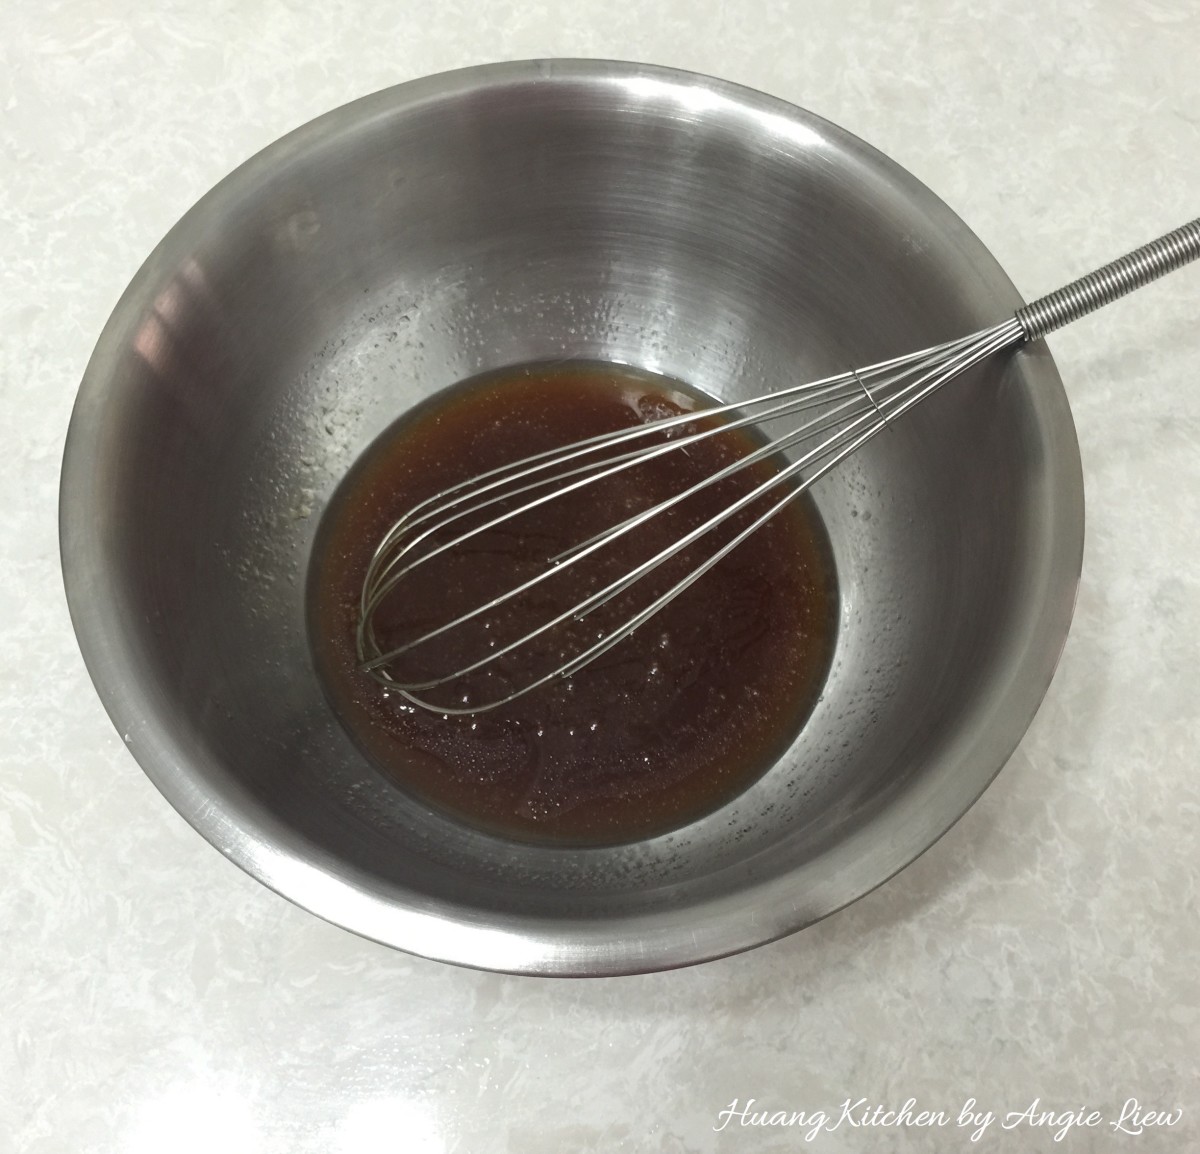 Whisk together the golden syrup, alkaline water and peanut oil until well blended.
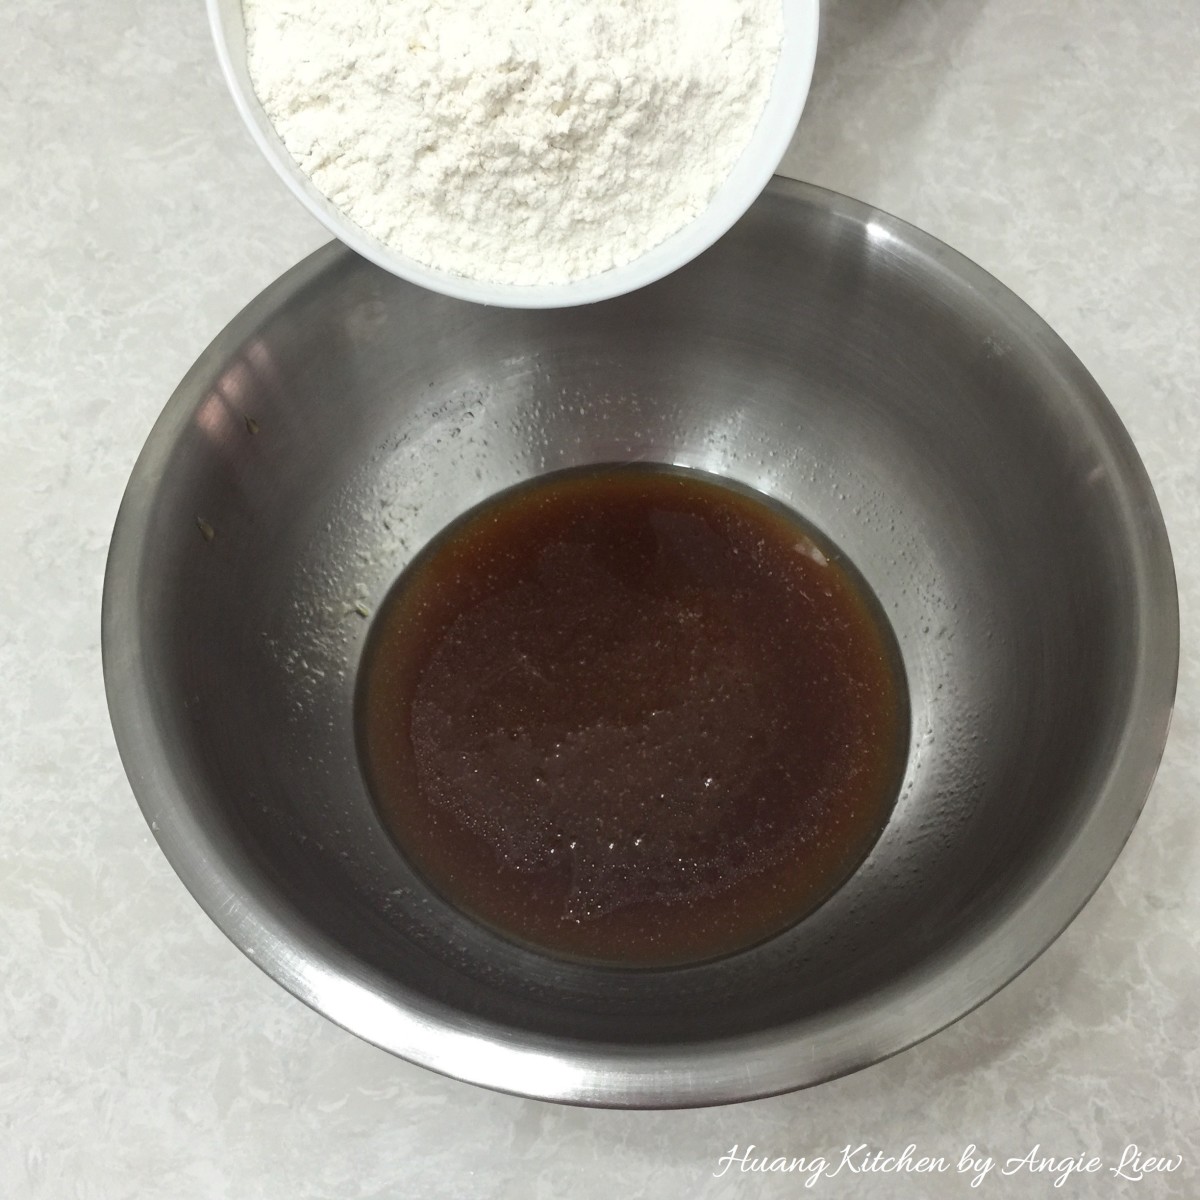 Next, add in the all-purpose flour (240 gram).
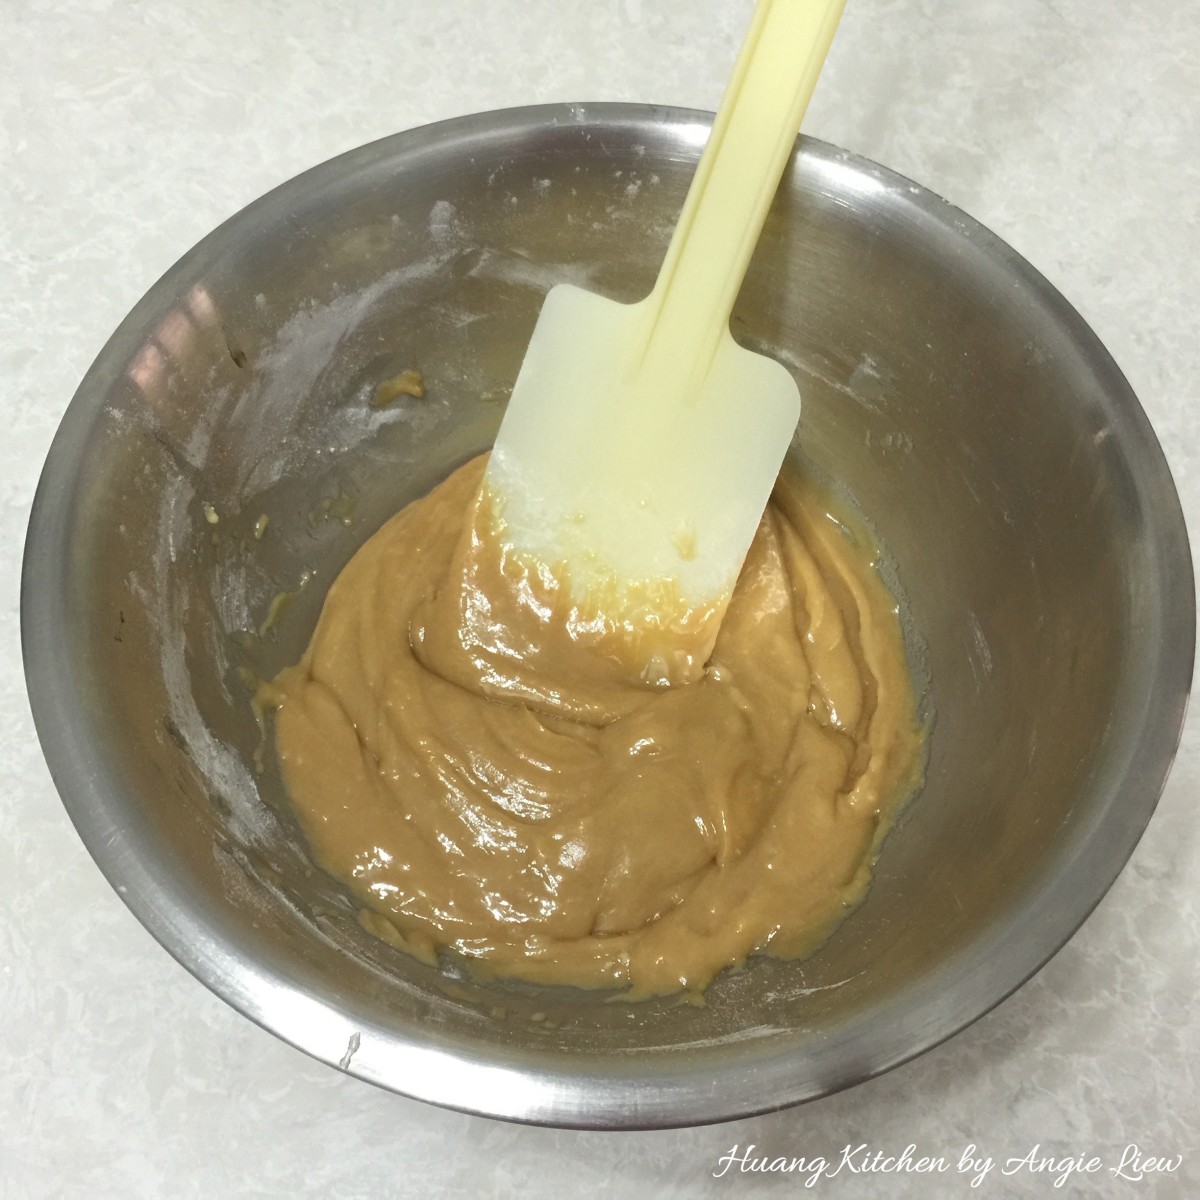 With a wooden spoon or spatula, stir to combine all ingredients. Do not over-stir.
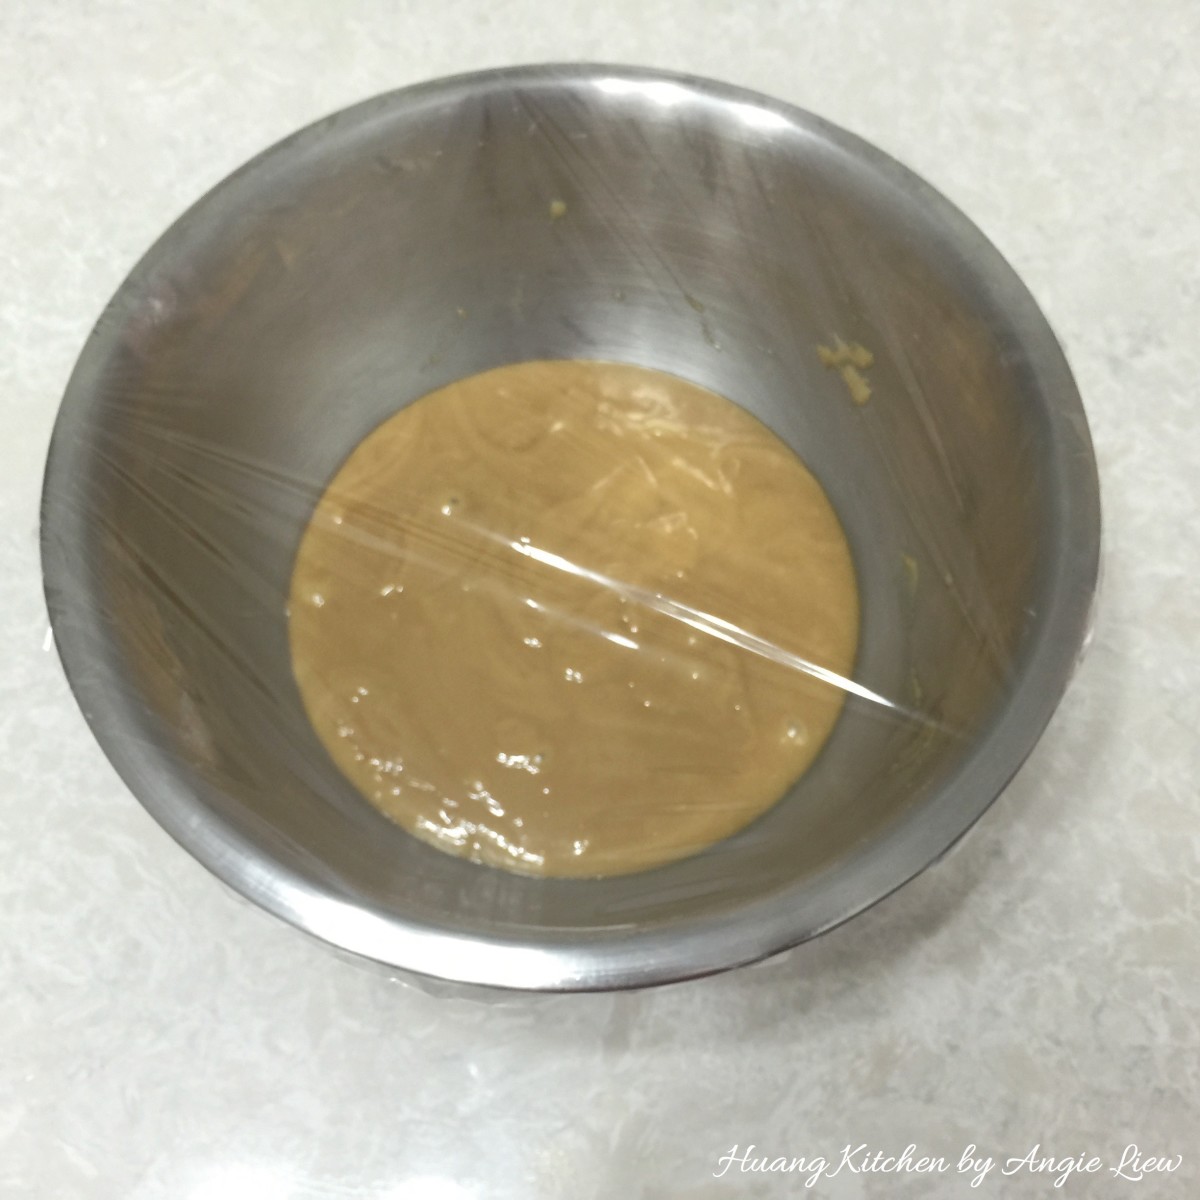 Cover with a cling wrap and set aside for 4 hours.
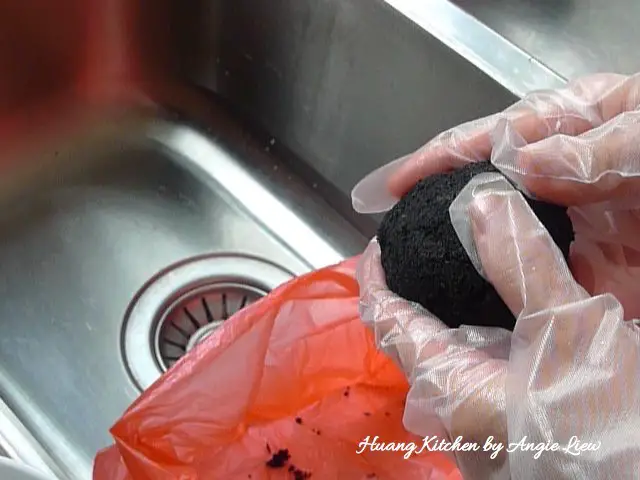 Next, clean salted egg by first removing the black charcoal from the egg.
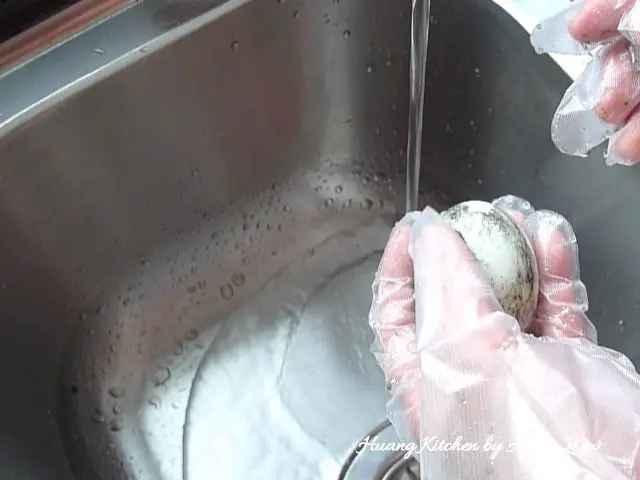 Then rinse egg under running water.
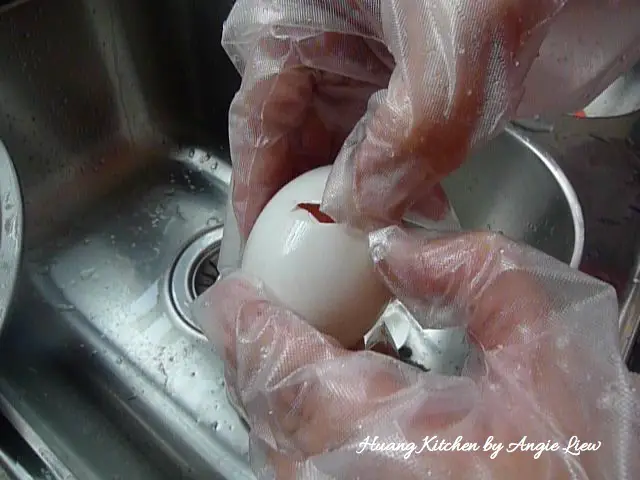 Crack the cleaned salted egg to remove the yolk. Repeat the same with the rest of the eggs.
 Then baked the salted egg yolks in a 175 degree C preheated oven for 5 minutes. Set aside when done.
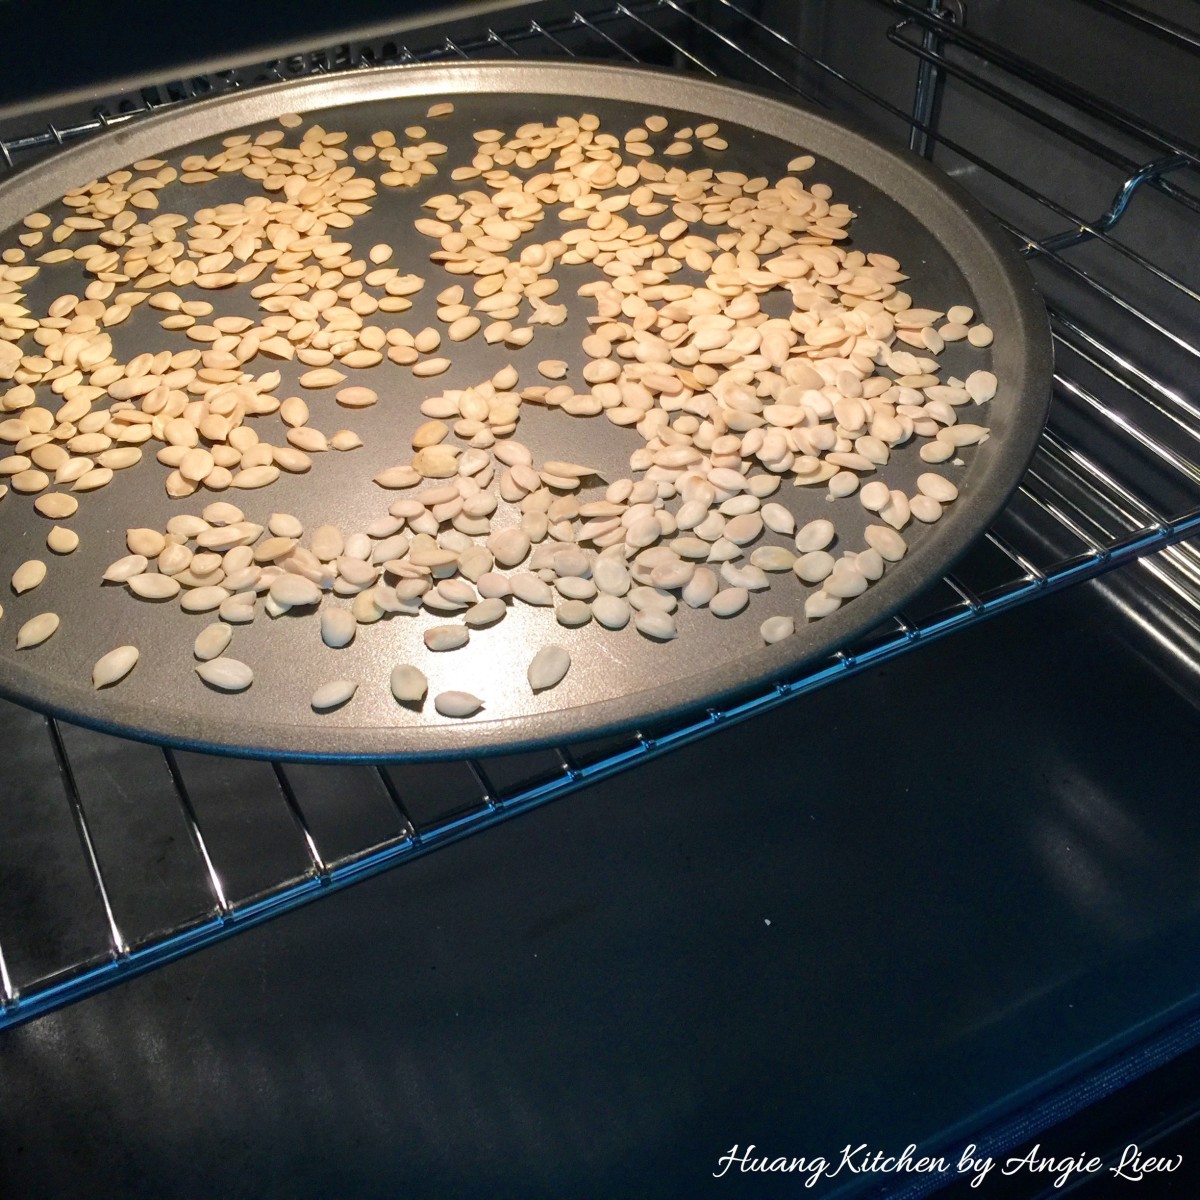 Next, roast melon seeds in the preheated oven for 5 minutes.
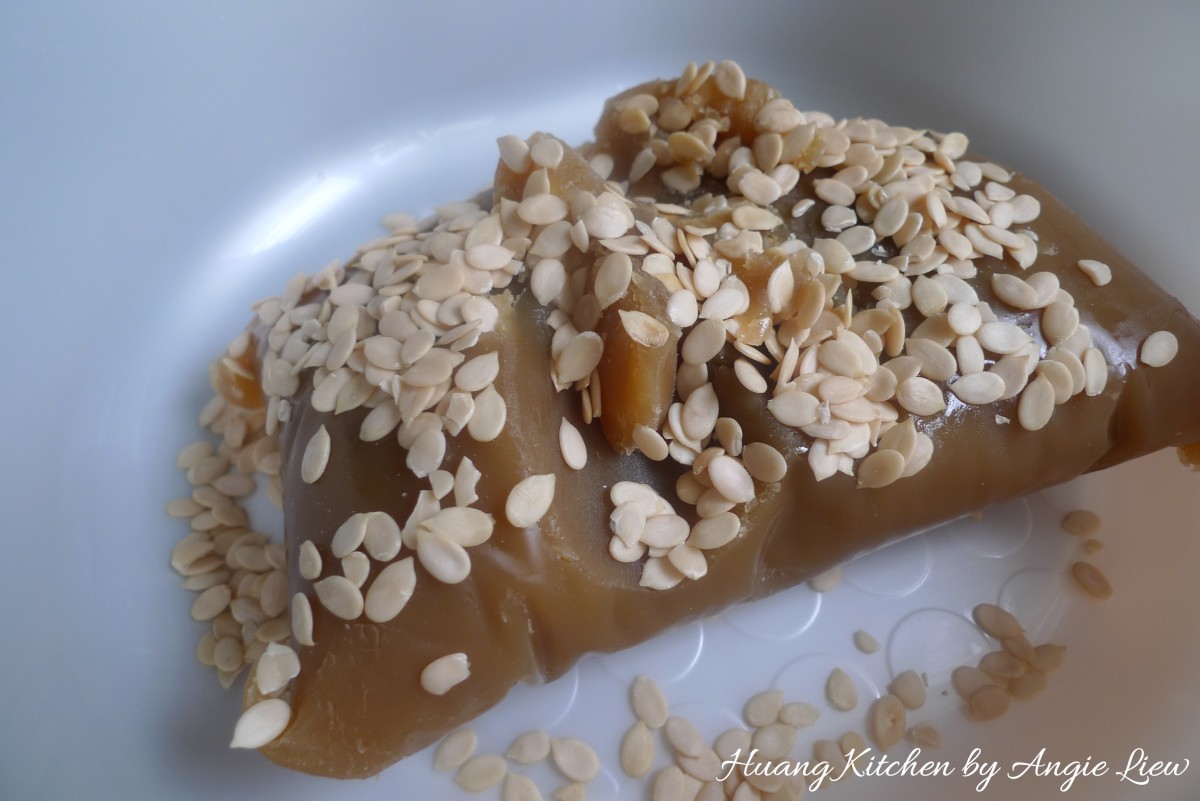 Mix the roasted melon seeds into the lotus paste. Lightly knead to combine the melon seeds into the paste.
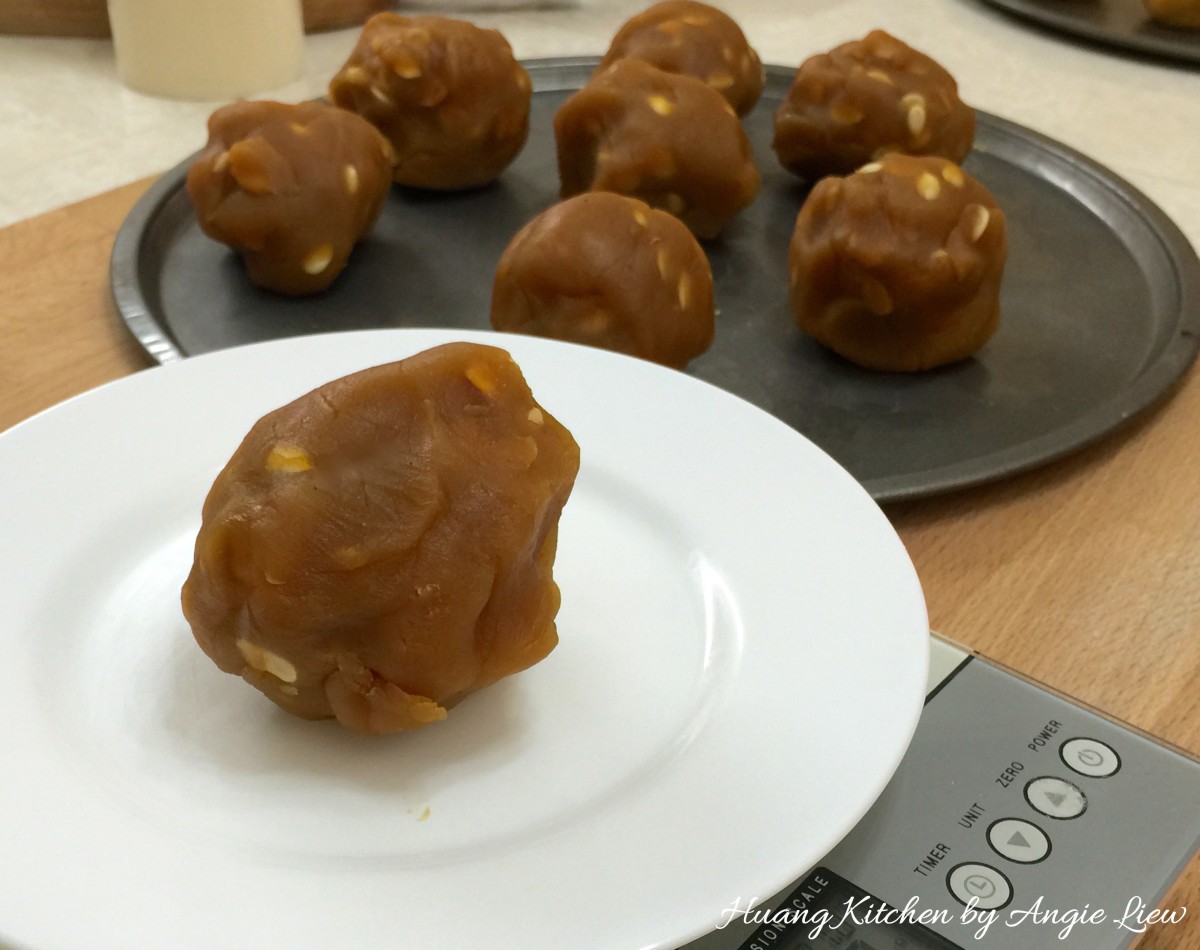 Roll lotus paste into a log, divide into 9 equal pieces about 110g each and roll into balls.
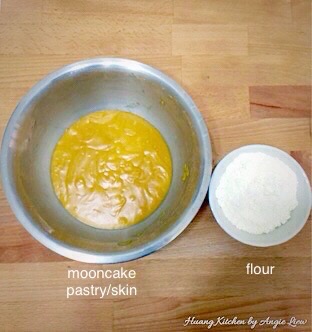 Then make the dough skin by mixing the set aside dough with the all-purpose flour (120g).
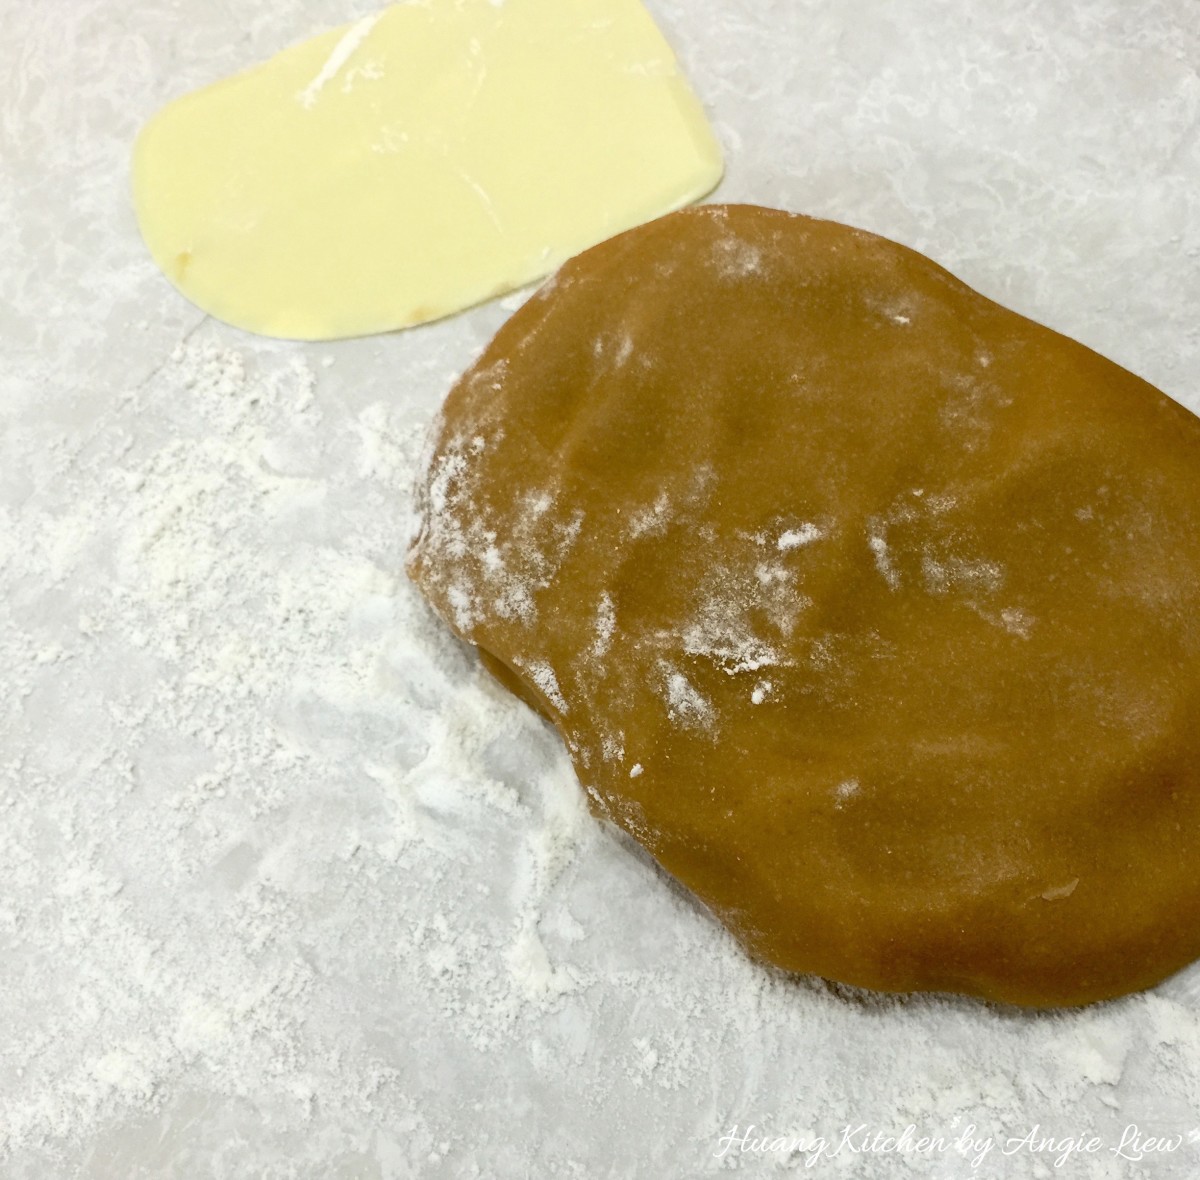 Gently knead the rested dough just until it comes together and firms up.
 Divide the dough skin into 9 equal pieces, each about 45g. Roll each portion into a small ball shape.
 Now we are ready to assemble the mooncakes!
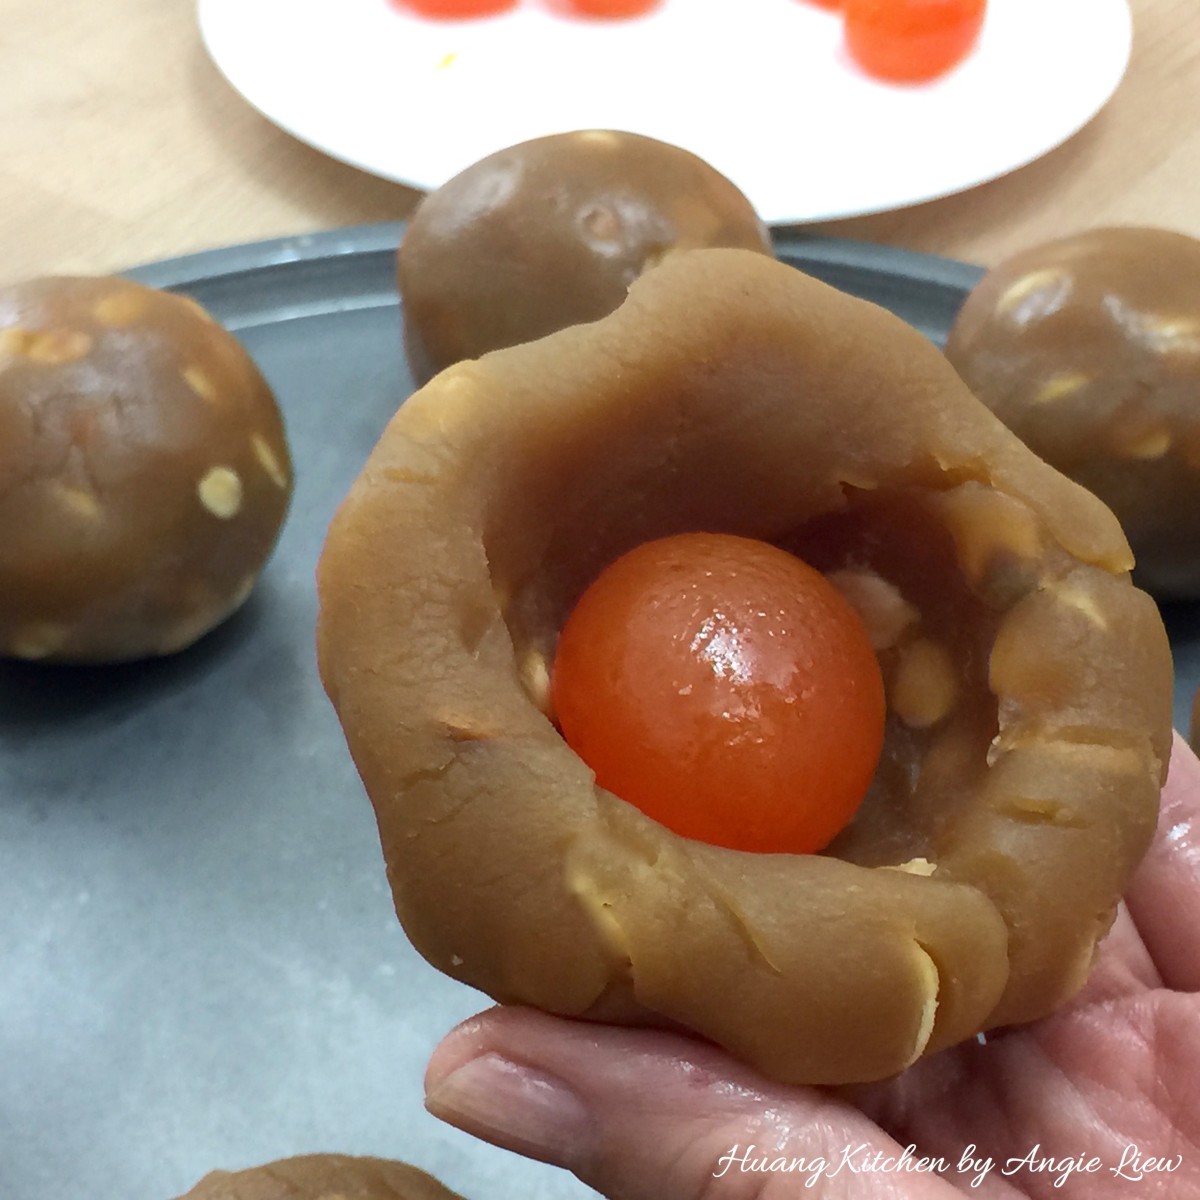 First, take a lotus paste ball and poke a hole in the middle with your finger. Place the baked egg yolk inside.
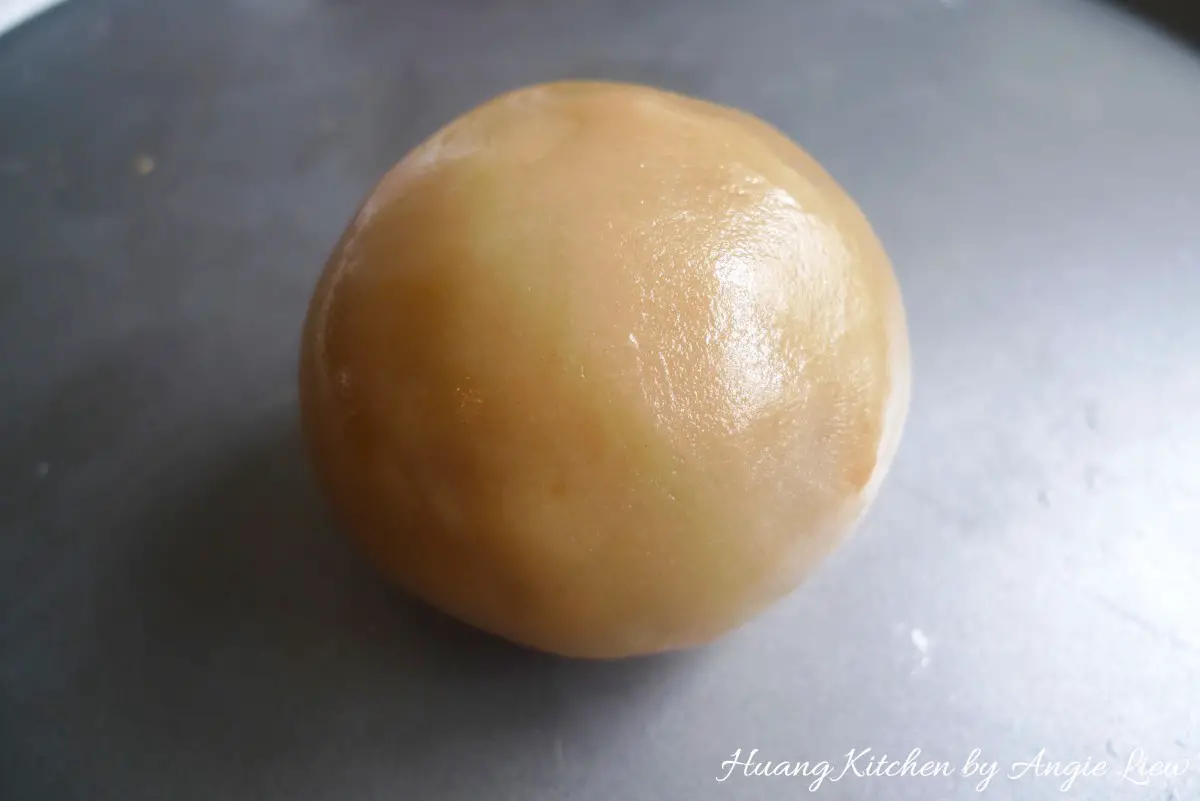 Roll and shape into a ball.
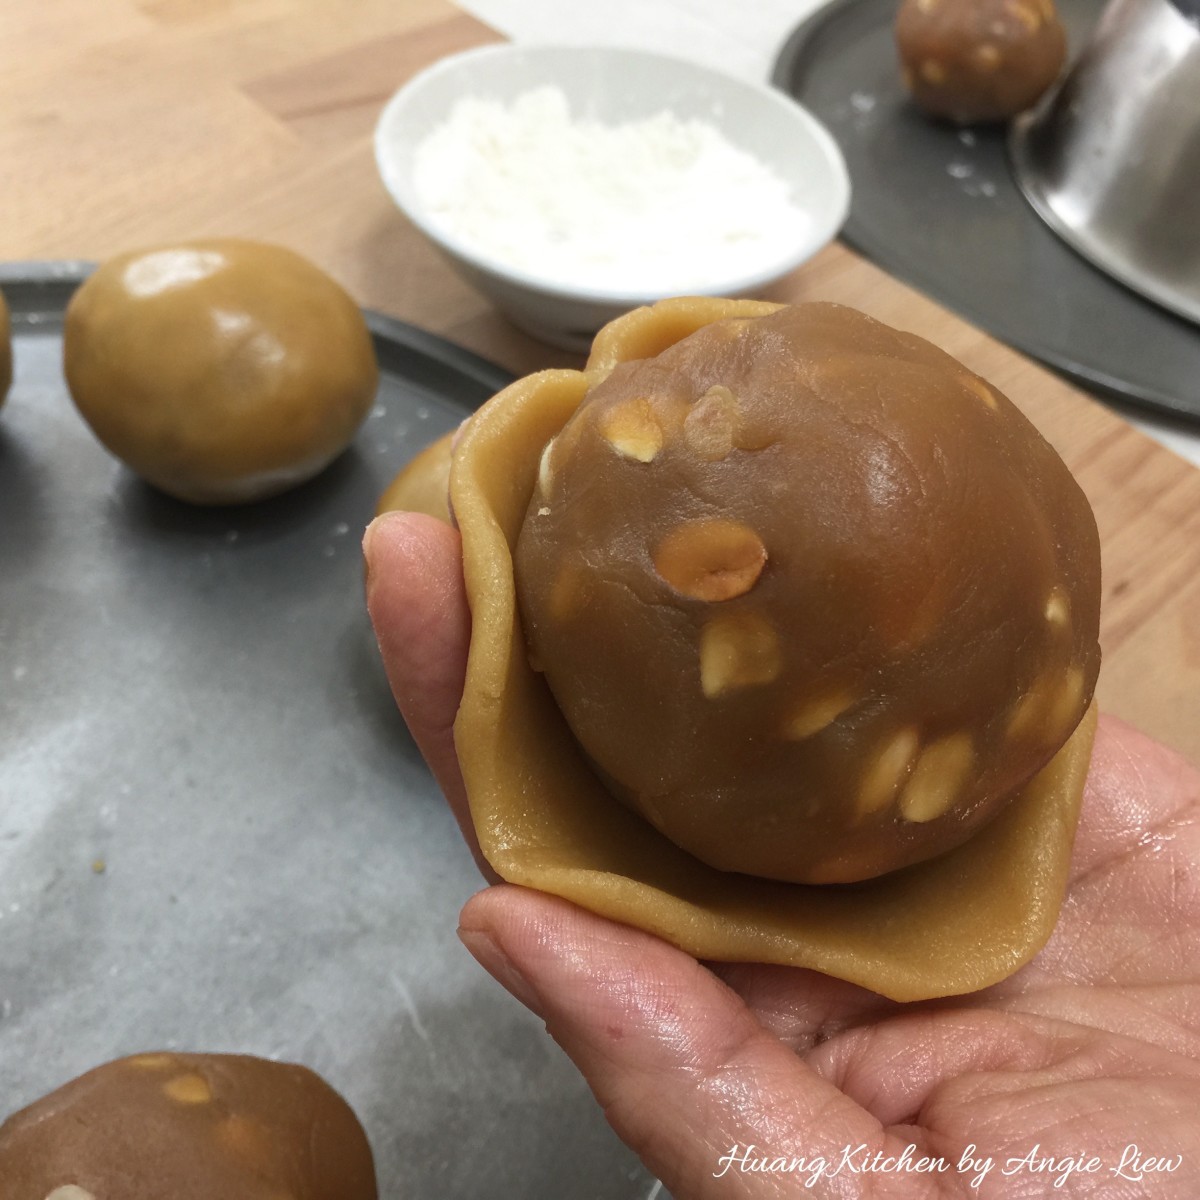 Flatten skin dough on palm of hand. Then flatten further using your fingertips. Put lotus paste ball onto the flattened dough and enclose filling by gently pressing edges until filling is sealed.
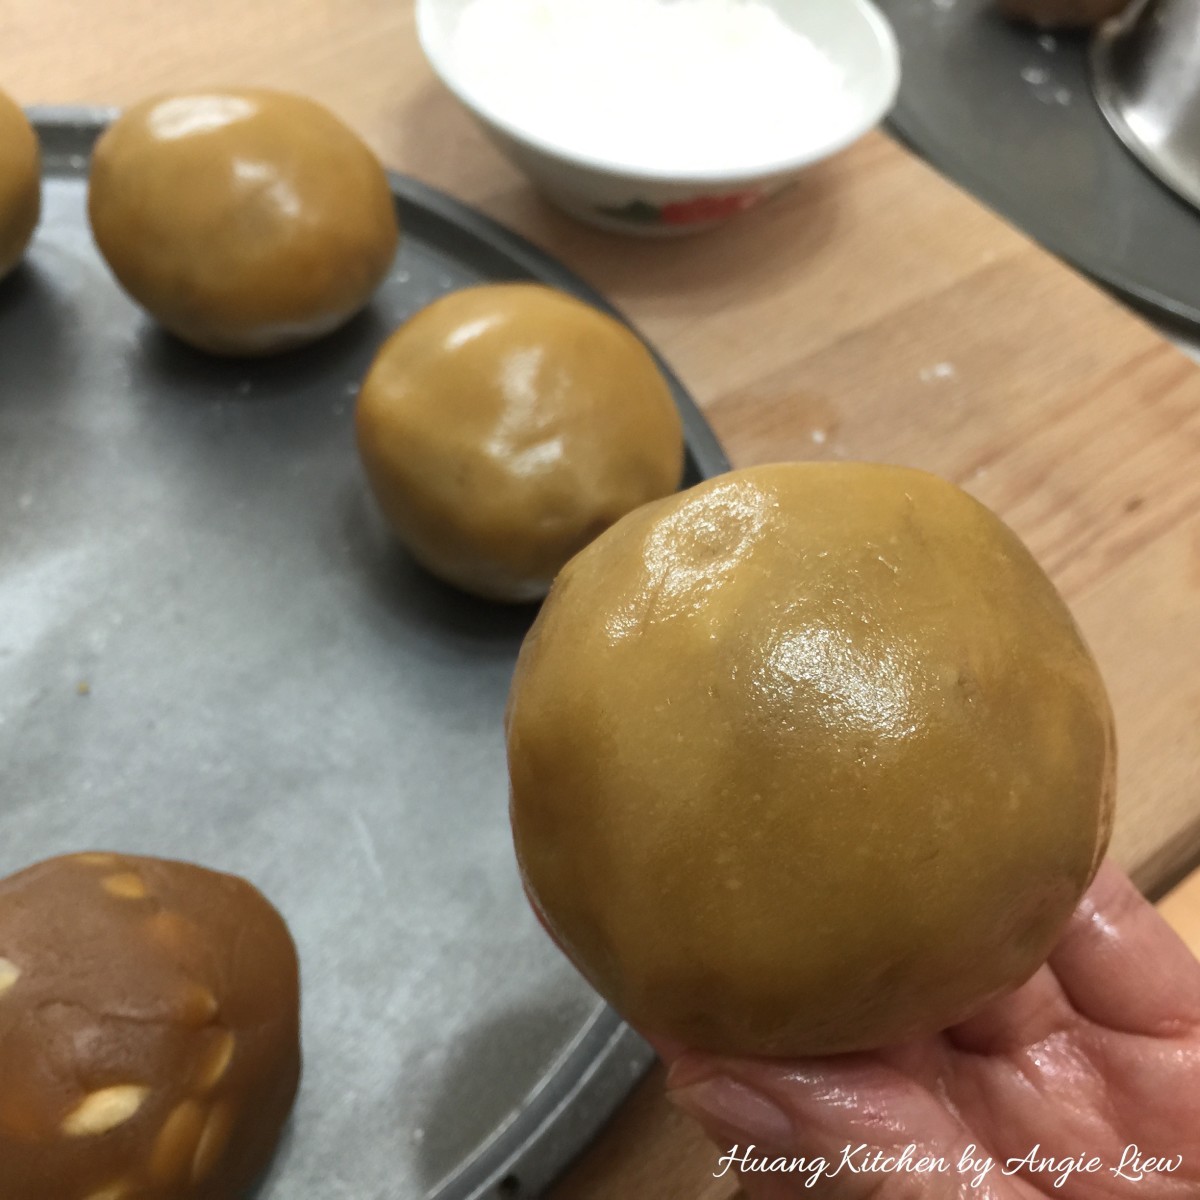 Gently push, press and squeeze the dough, holding the ball securely in your palm, until the dough skin gradually covers the lotus paste ball. Repeat this step to finish the remaining dough skin and lotus paste balls.
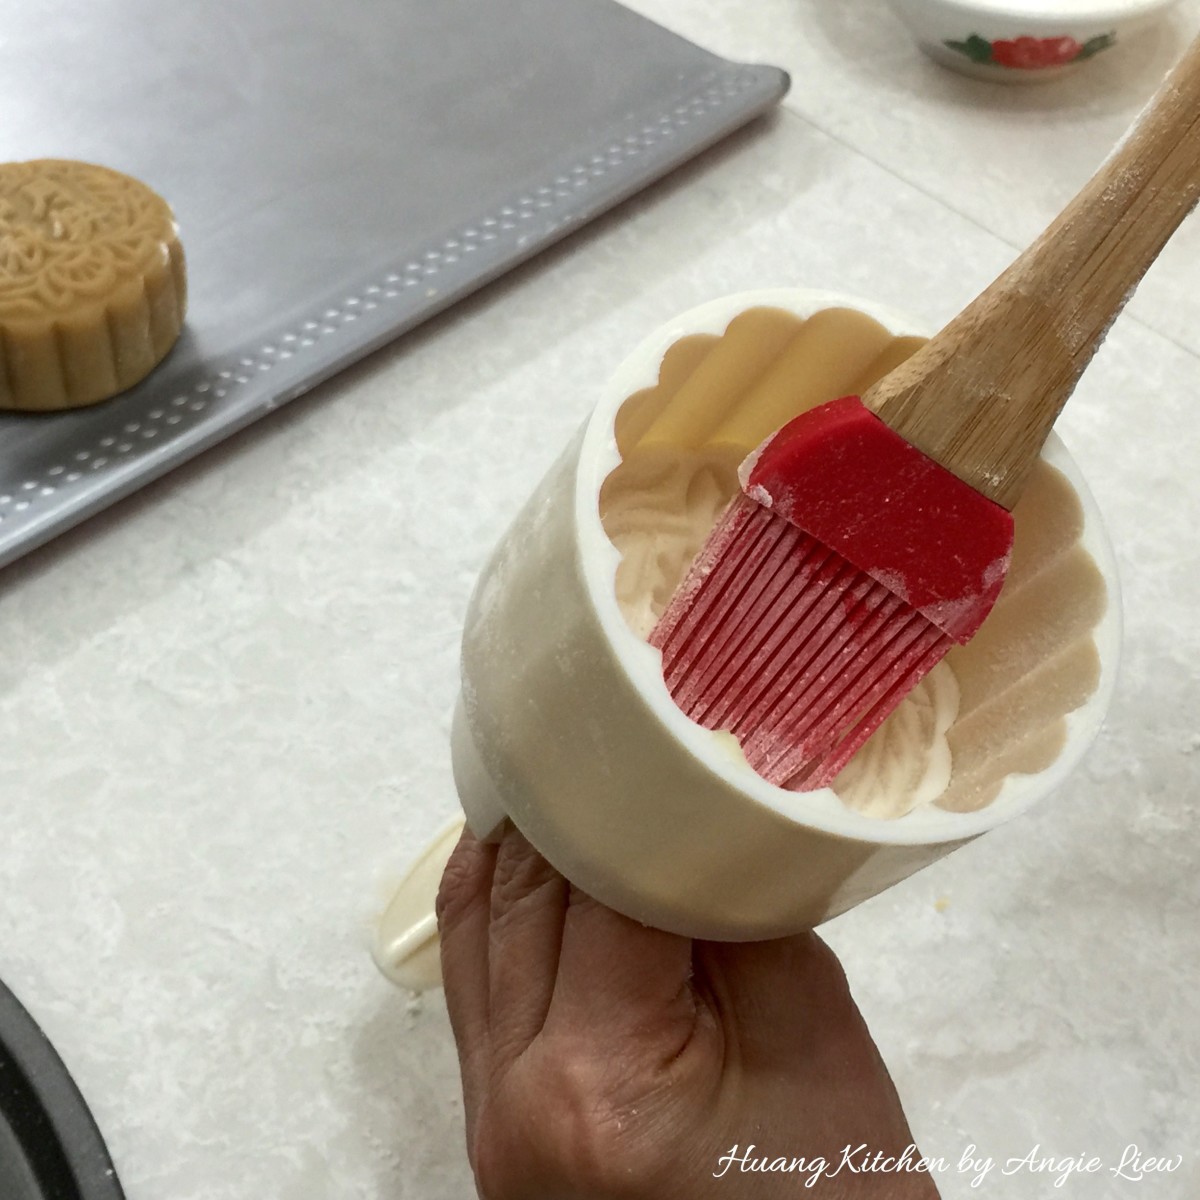 Dust a little flour on the mooncake mould.
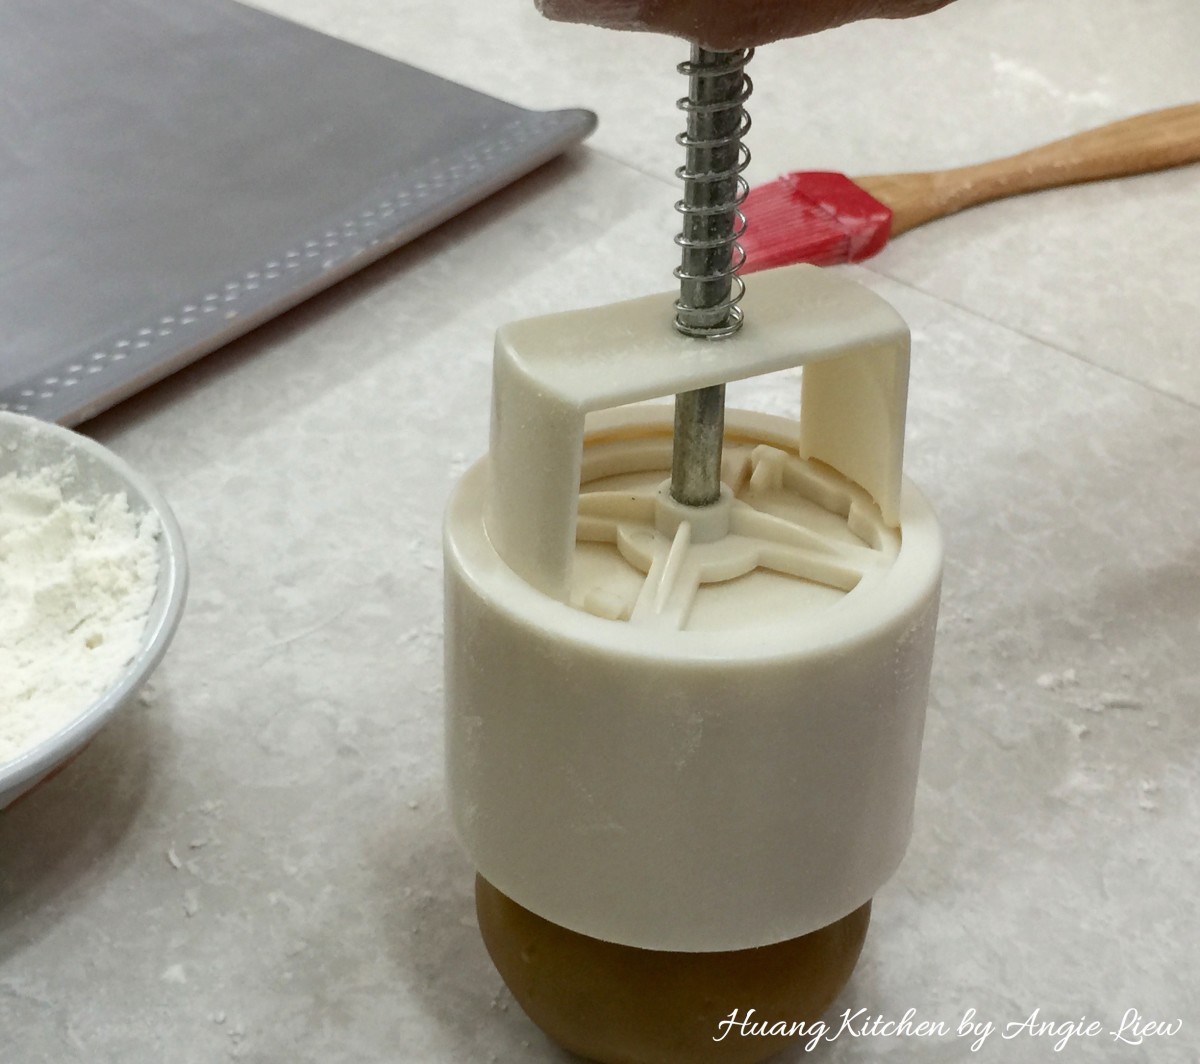 Place the stuffed round mooncake into the mould. Turn it UPRIGHT on the surface. Then press the plunger down until you feel resistance.
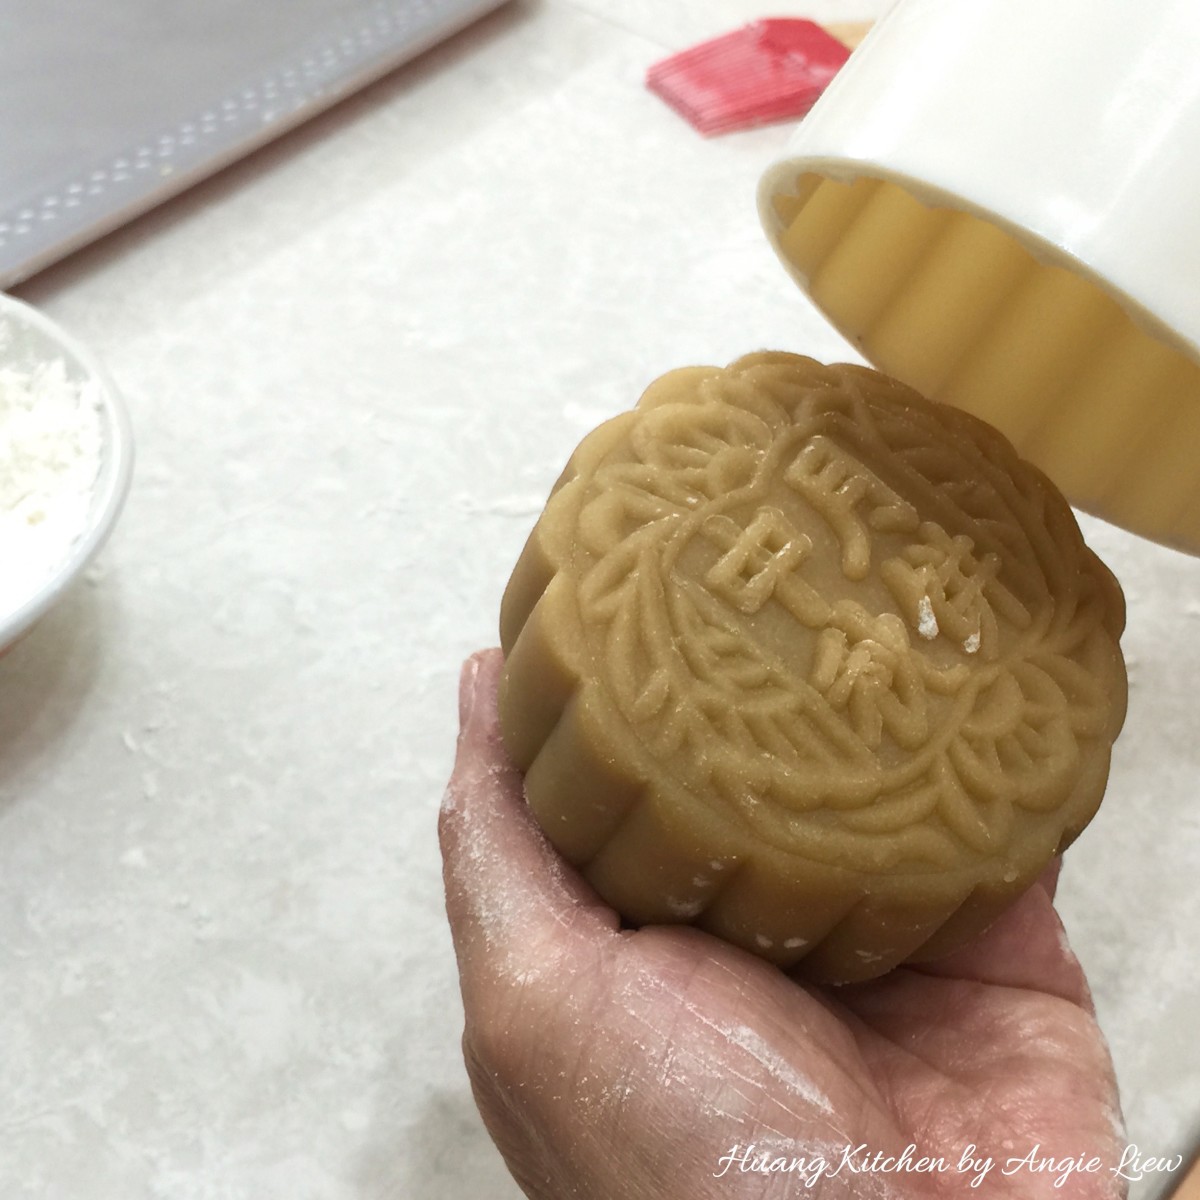 Lift the mooncake mould off the surface and use the plunger to push the mooncake out. Repeat the same with the rest of the wrapped lotus paste balls.
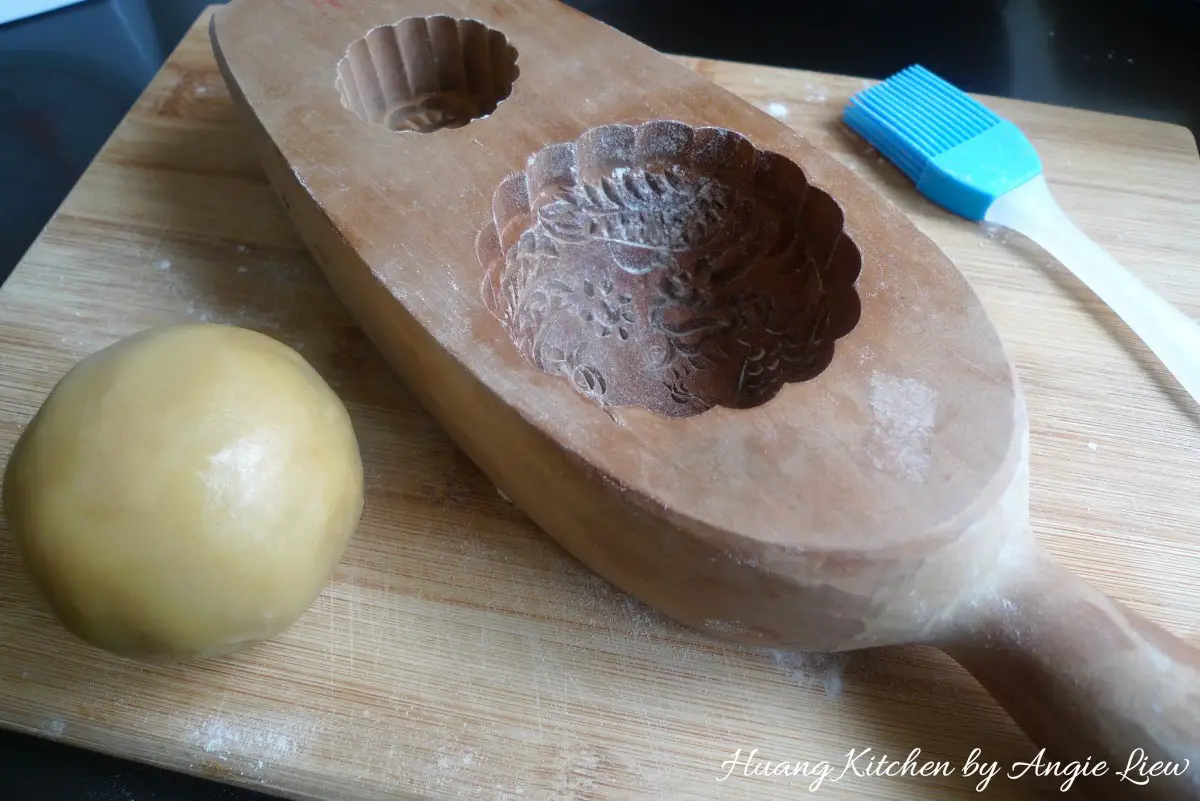 Alternatively you can use a traditional wooden mooncake mould. Lightly floured the wooden mould.
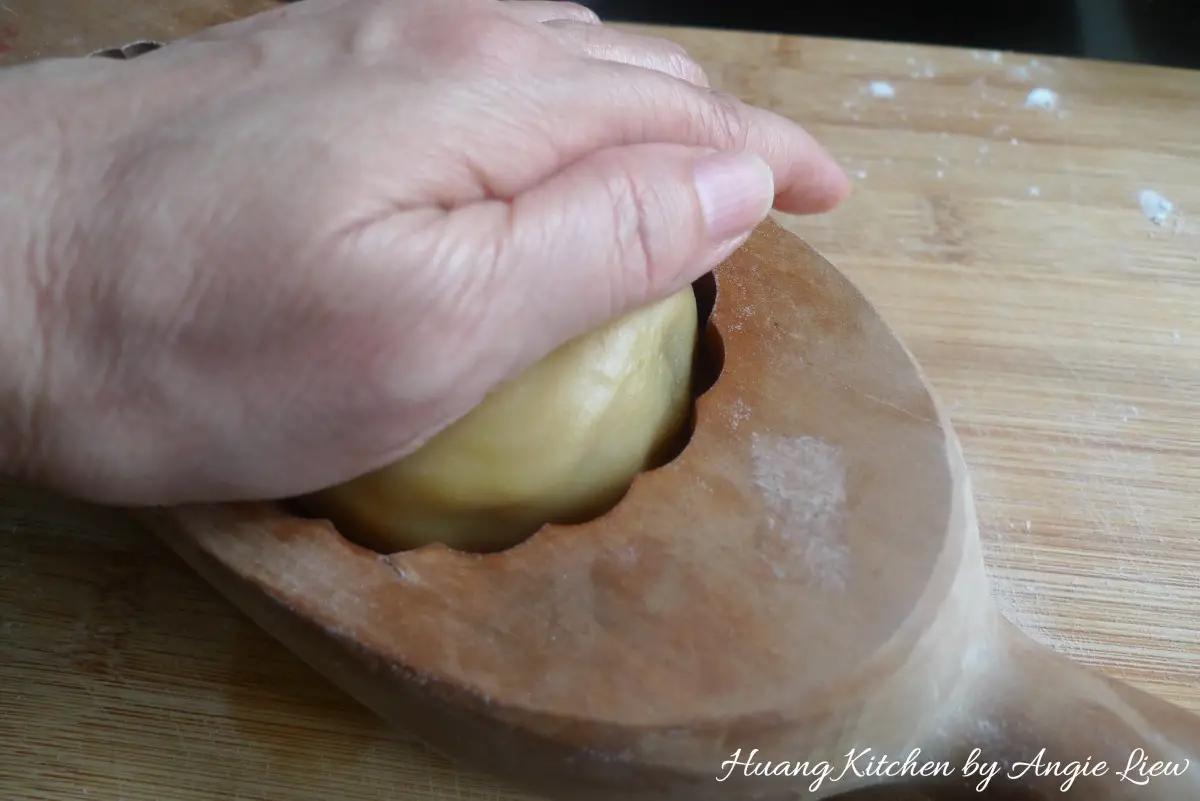 Dust lightly the filled dough with flour, put into the lightly floured mooncake mould and press hard and flatten the dough so that the shape conform to the mould.
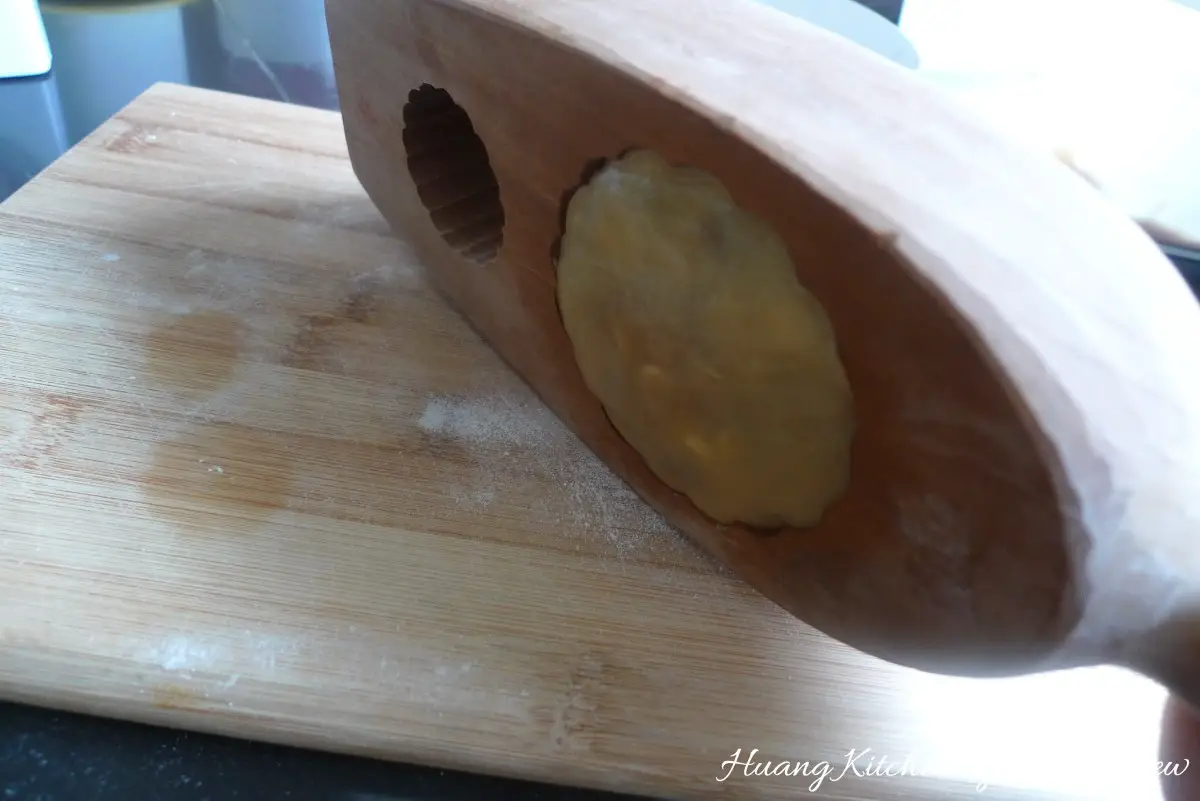 Gently knock a few times to dislodge the moulded mooncake.
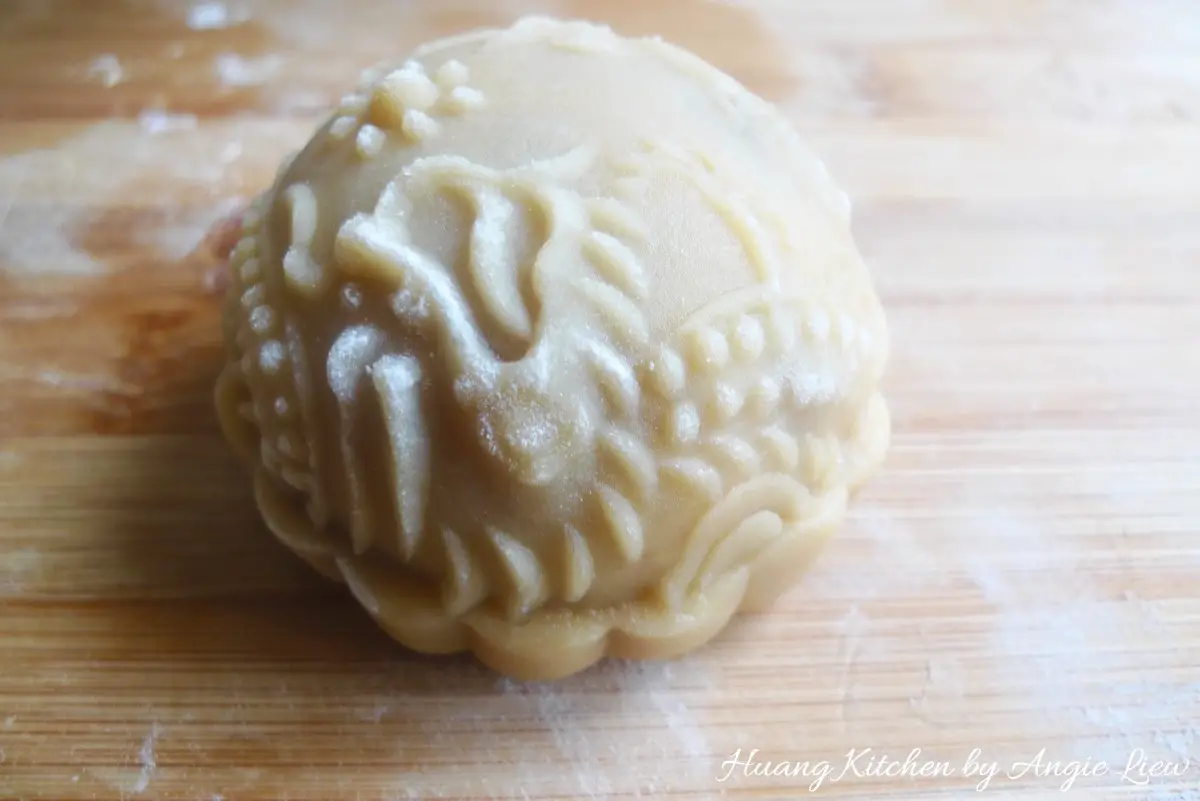 And we're done!
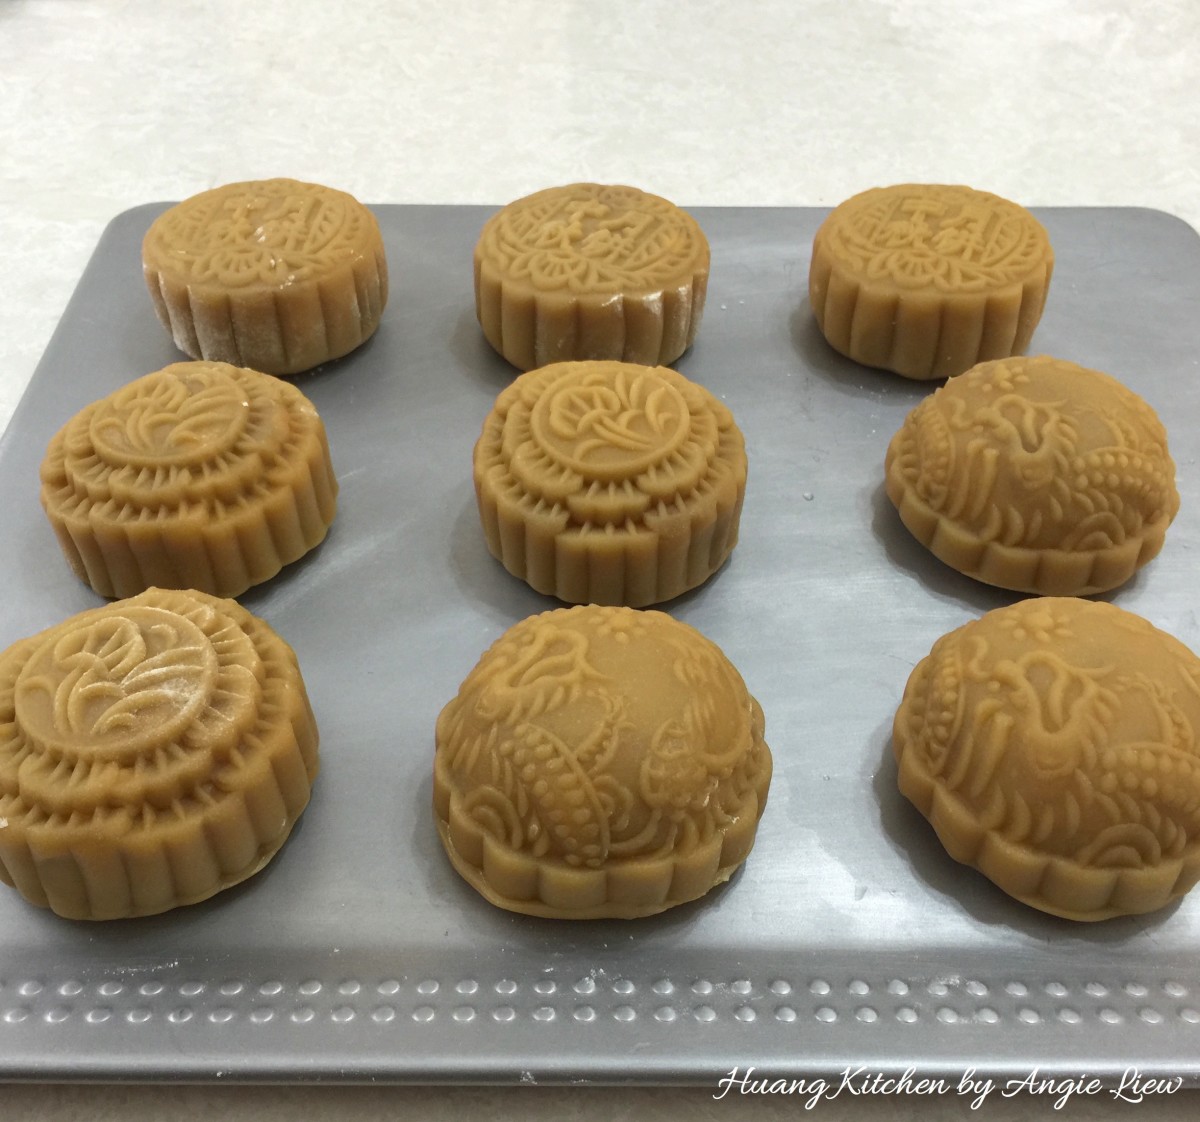 Transfer the moulded mooncakes onto a baking sheet.
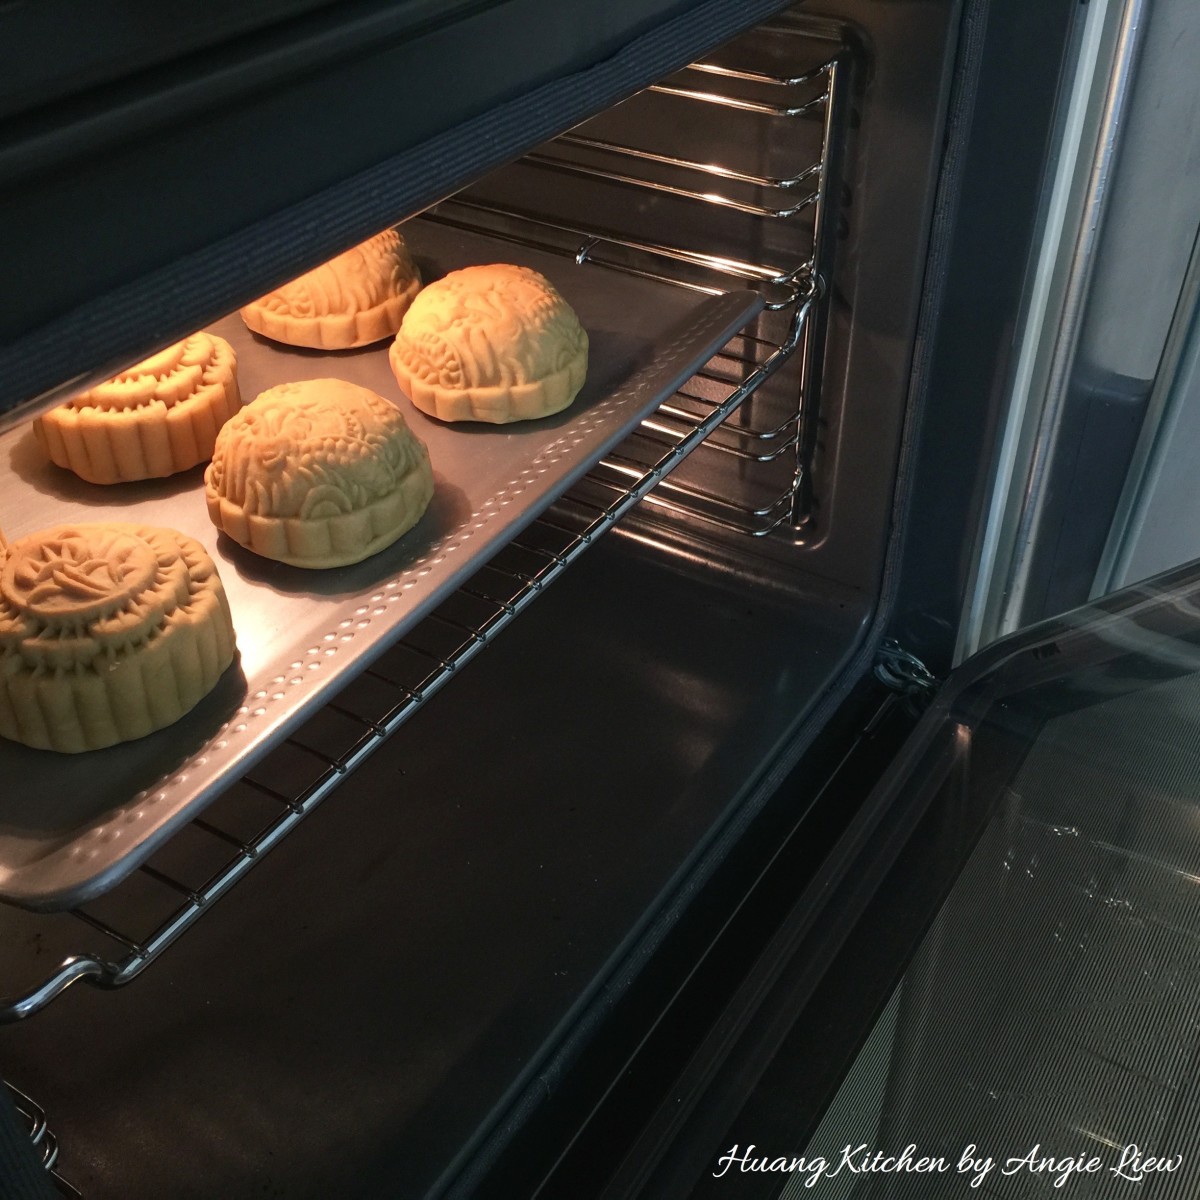 Preheat oven to 200 degree C. Place the mooncakes in the preheated oven to bake for 10 minutes.
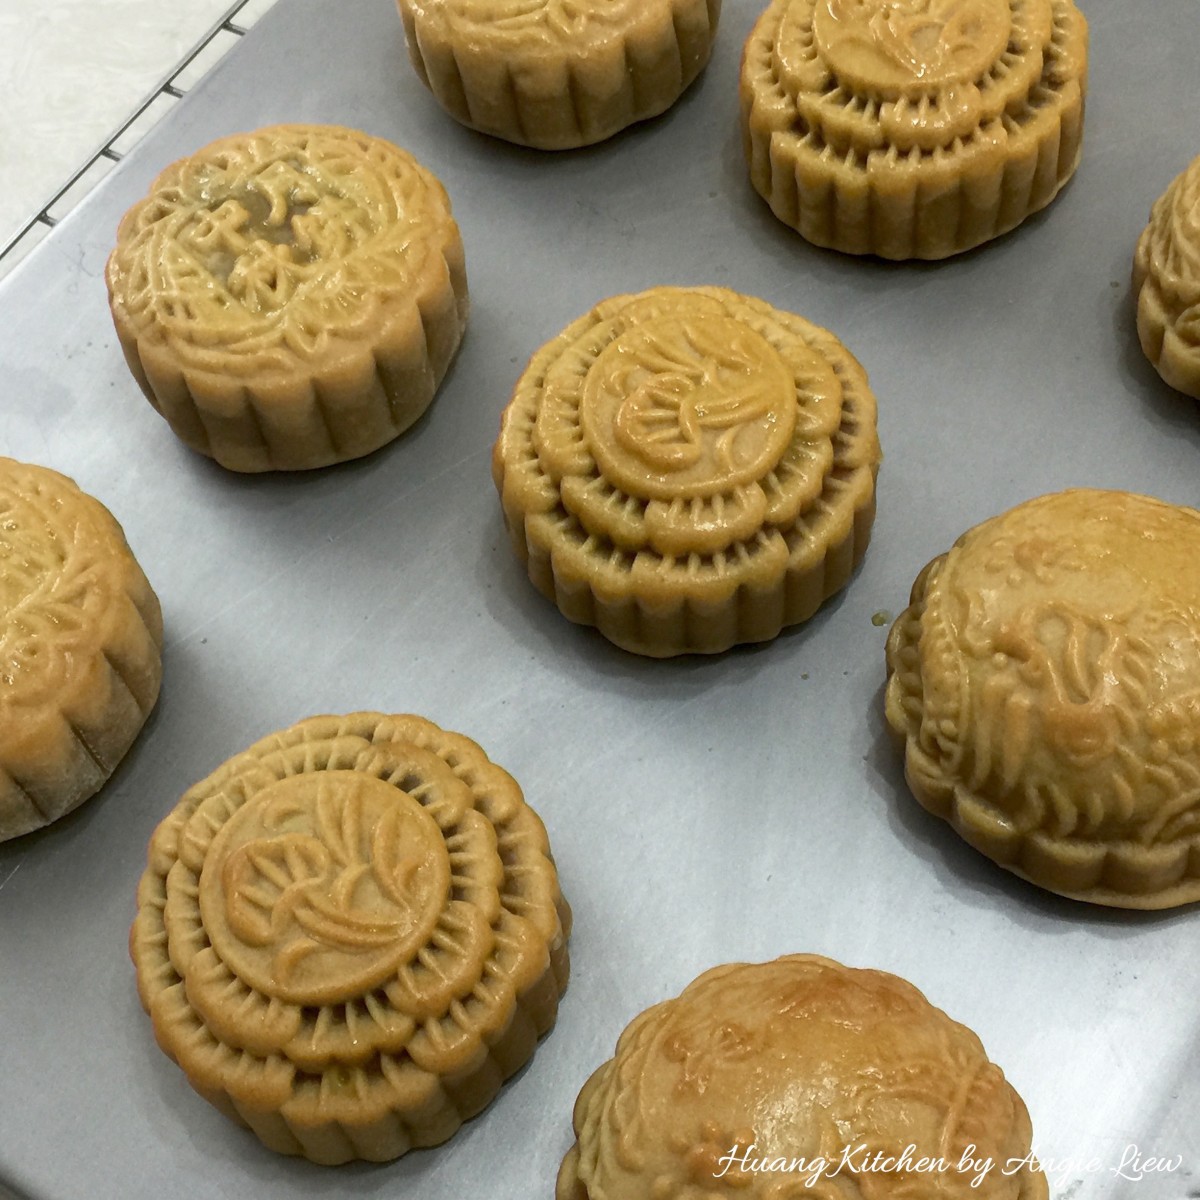 Remove the mooncakes from the oven and leave to cool on wire rack for 5 minutes.
 Lightly brush as thoroughly as possible the top of mooncakes with beaten egg yolk.
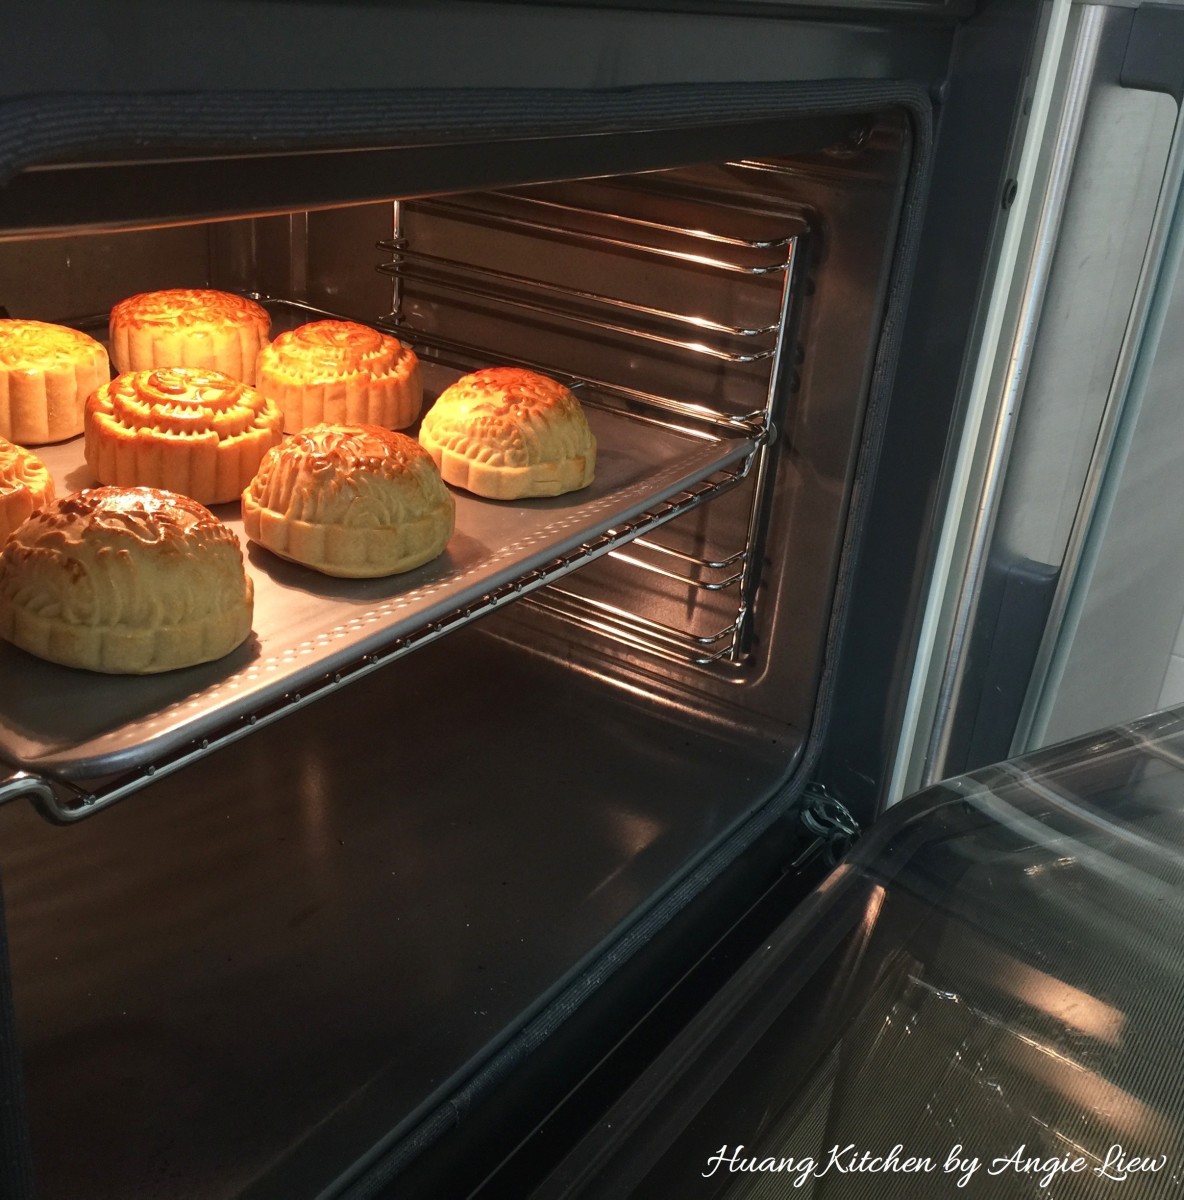 Then bake in the oven for another 10 minutes or till golden brown. And we're done!
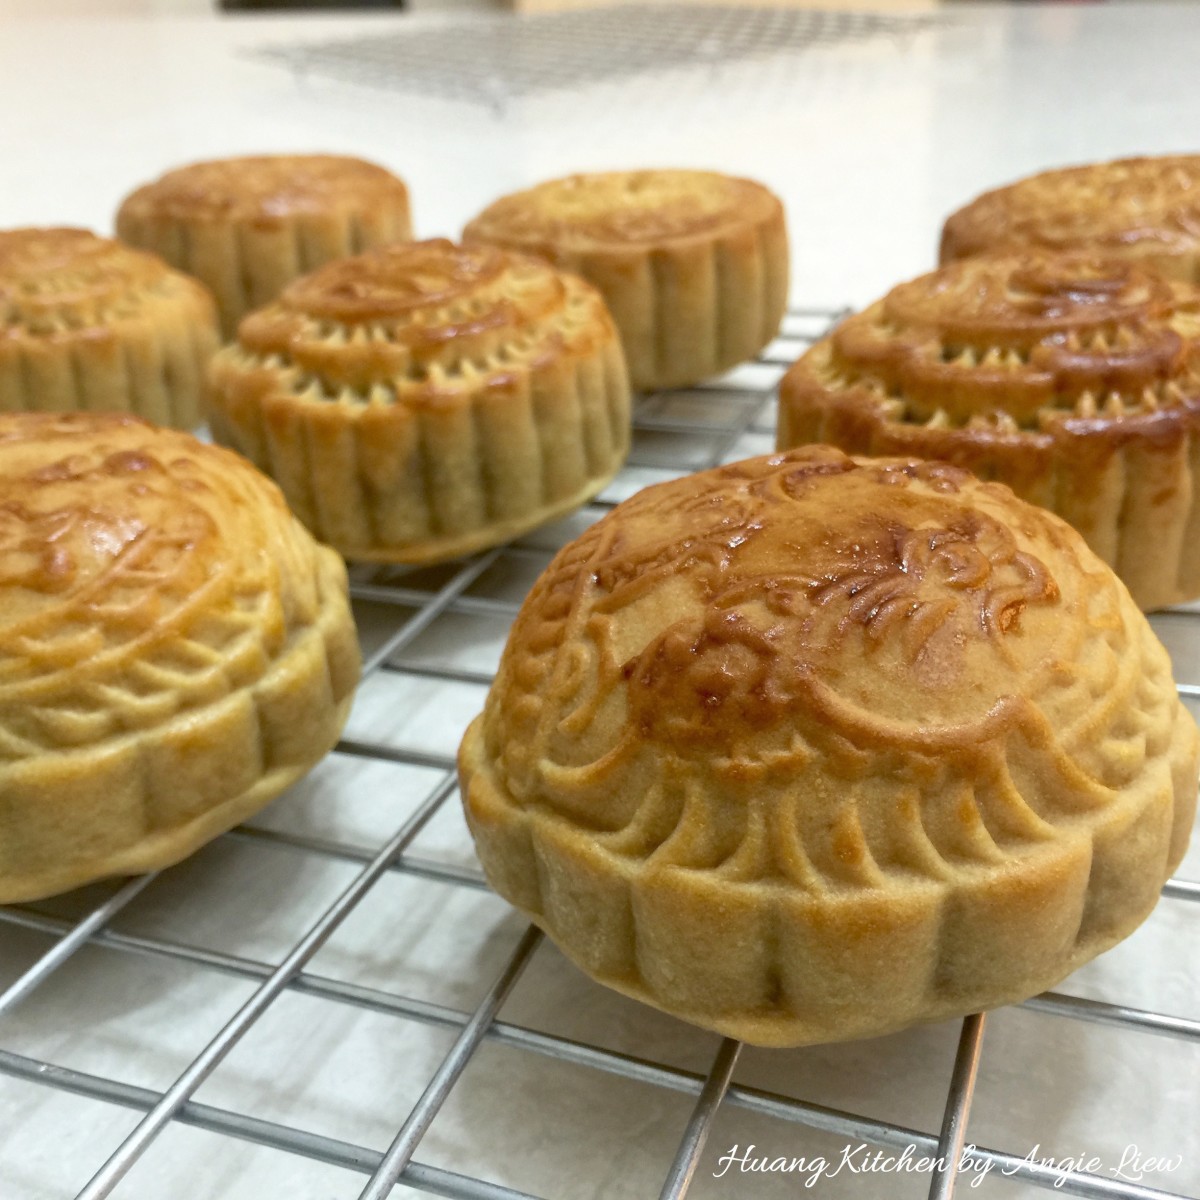 Remove from oven and let cool completely on a wire rack. Then store in air-tight container for 2 days.
- The mooncake skin will become soft and shiny in 1 or 2 days time.
- At this point, it's meant to be enjoyed. Great to serve with a cup of freshly brewed chinese tea. Enjoy!

12 comments
Hi Angie!
It’s only through your recipe that I learned how to make mooncakes from scratch during the pandemic! I’ve made quite a few batches over the last 2 years and they’ve always turned out well! I made smaller mooncakes with this recipe, with just the filling (usually a bean paste with kuaci, no yolk) weighing at 40ish g each and the skin also at 40g.
Just a question though, do you have any advice on how to make the skin even softer? The dough is actually very moist and pliable prior to baking but then after it bakes it does dry out a little – do let me know! Thank you very much 🙂
Use cake flour instead of all-purpose flour for the mooncake skin will result in softer skin. Alkaline water helps make the skin soft and golden in colour. Some adds a bit of baking soda to make the skin soft. Hope this helps.
Love this recipe. Clear instructions and the mooncakes taste great! Although I’d like to know how long can we store these mooncakes? Google showed different answers so am not really sure.
Thanks for your feedback. I usually put in an airtight container and leave at room temperature after the mooncakes are cooled. After 3 days you can store in the refrigerator and it can lasts for perhaps another 2 weeks. Remove from fridge and leave to room temperature before consume.
Hi Angie,
Can I ask what is the difference between this recipe and your mini lotus mooncake recipe? The dough here needs 4hours of resting, and the other dough is 30min. Kindly advise. Thank you.
It is just two different methods to make the mooncake skin (dough). If you don’t have time you can choose to wait for just 30 minutes to start making the mooncakes. Thanks
Hi Angie, thanks for the reply. I followed your instructions and it turned out really good. Thank you.
How long can I leave the dough out to rest in room temperature?
If I leave the dough overnight in the fridge, do I need to let it be at room temperature before adding the remaining flour?
Thank you.
Hi, for this recipe, its 4 hours before you add the remaining flour. Leave to rest at room temperature. No need to refrigerate overnight. Please go to http://www.huangkitcen.com for more details. I also have one that you just rest for 30 minutes. Thanks
Hi Angie, can I check with you for step No. 16, we need to add in another 120g all purpose flour into the put a side dough? as i saw the video doesn’t look like got add in.
Yes, please add another 120g flour into the dough set aside for 4 hours earlier. Thanks
Me again ganesrau after 3 years back again this year I will start to do the moon cake again..
Hope you will enjoy making again. Let me know how it turns out.